Stickman posted this Pic in the Beta forum. If the gun point down too far the crew actually shoots themself in the foot.

Hopefully , we can fix it (or maybe leave it?). Look at the gun crew running for there lives.
You gota love the Pic..............................

Perhaps I am the only one whom goes into roving cam to watch the ground guns.
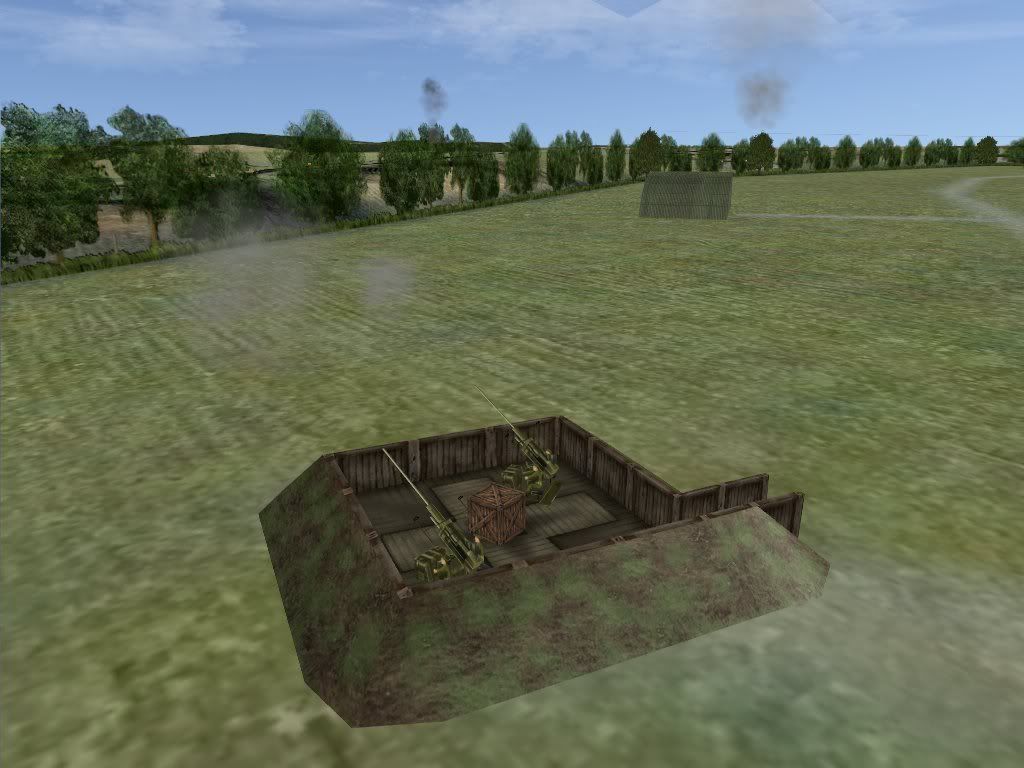
Now, I am not a professional artilleryman, but here at Hawkinge you see some odd gun site emplacement.
A two gun section of 40mm Bofors, OK. Probably too close to each other, IMO.
What the bloody hell is that 3.7" heavy doing with them???

Now, the Bofors guns are not going to kill any friendlies as long as they do not point and train tubes at any,
but.. when they train over 180 degrees, and point low...

Wissant, and a LW FLAK Ableitung emplacement (minus one batterie due for Audembert AF.
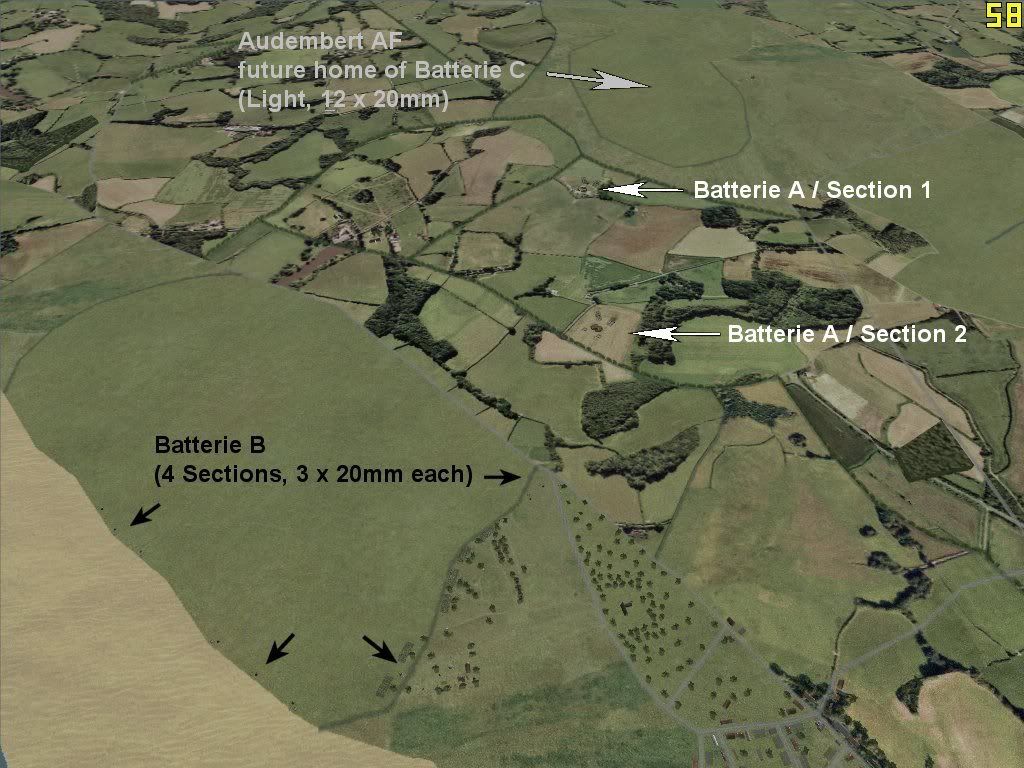
Batterie A / section 1, near Audembert.
ben's new objects:
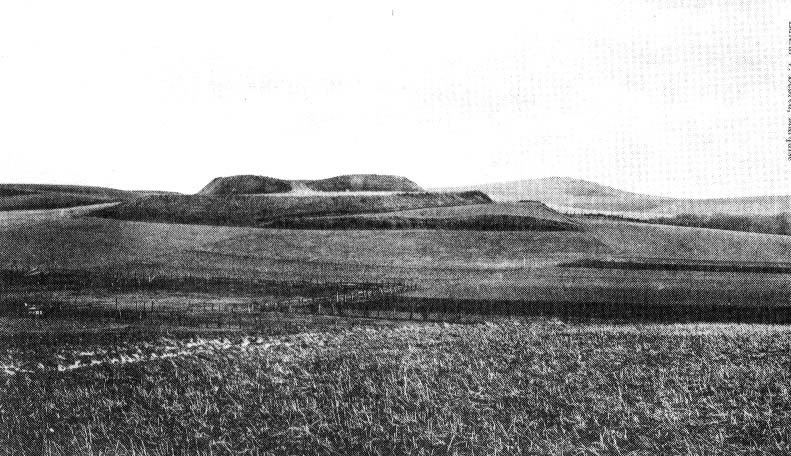
Batterie A / section 2, atop Ceasar's old Fort:

Ceasar's Fort, photo taken 1907-1920?
Hirtius, Keasar's must trusted legate (until he stabbed him in the back, later)
asked Julius, " Why do we need to invade Brittania?"
"Because we can! Also to put the fear of Rome in the hearts of all these savages!"
"Hirtius, chop down all these Druid trees. Bring any Druid priests to me.
We have a fort and ships to build!"
Some flak damage, thanks to stickman for the Pic.
I have implemented a Bdg.txt parameter so you can tune the size to your flak burst so you can tune how ofter you get killed by flak.
You will also have a Bdg.txt switch so you can turn off the AAA and Flak in case your PC can not handle the extra processing.
You will have a switch to increase the AAA and Flak (higher than the baseline default) if you have a gamer PC with the grunt.
You will have a Bdg.txt switch for getting AAA and Flak over France again if your PC has the grunt.
Thanks to Borton for the Pic during Testing.

Thanks to Stickman for the Pic's and hard work on the AAA guns (some are work in prograss).
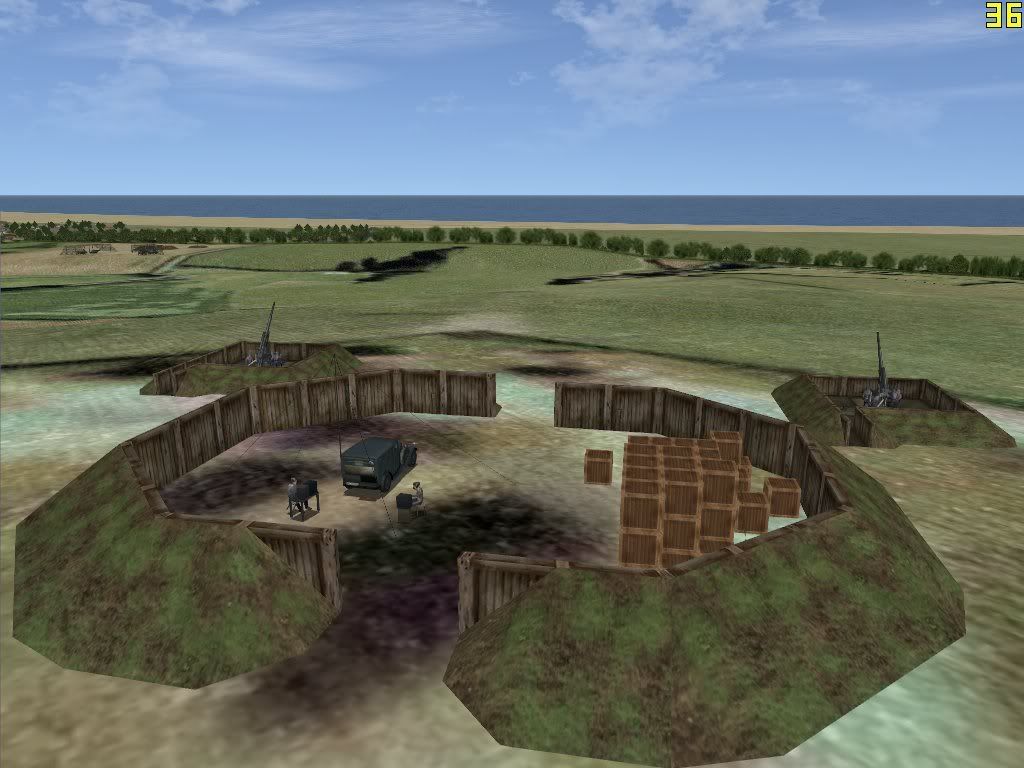
Look at the lovely little forts for the guns and gun crews to hide while blasting the bad guys out of the sky.
Outfitted Hawkinge with some gun revetments. Poor gunners looked a bit exposed.


I mentioned before that I saw a place at Hawkinge where gun smoke and flashes appeared, but nothing there.
Initially I thought it was a 3.7" gun. After much observance, I know that they are the odd
Anti-Air Parachute & Chain weapons!. Yes, they work if you fly into one.
There is one just south of the Blenheims, and one near the raised forest (black arrow)
There may be 1 or 2 north of the field. I have not scouted that out, yet.
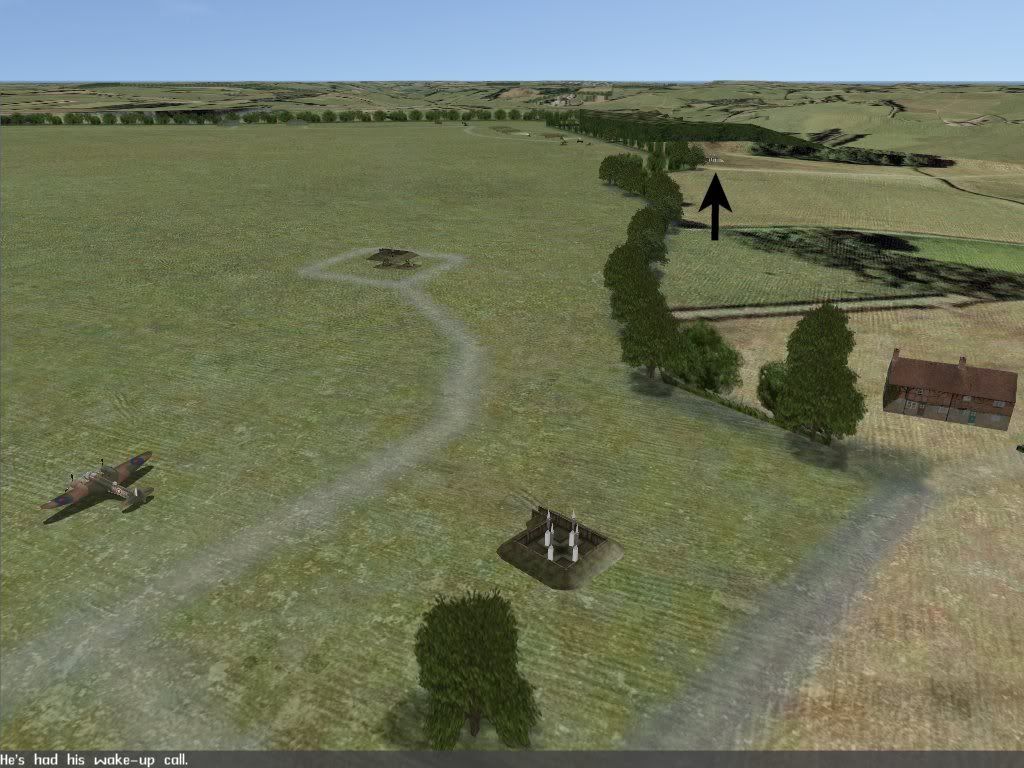
These things only fire when enemy aircraft are over the field.
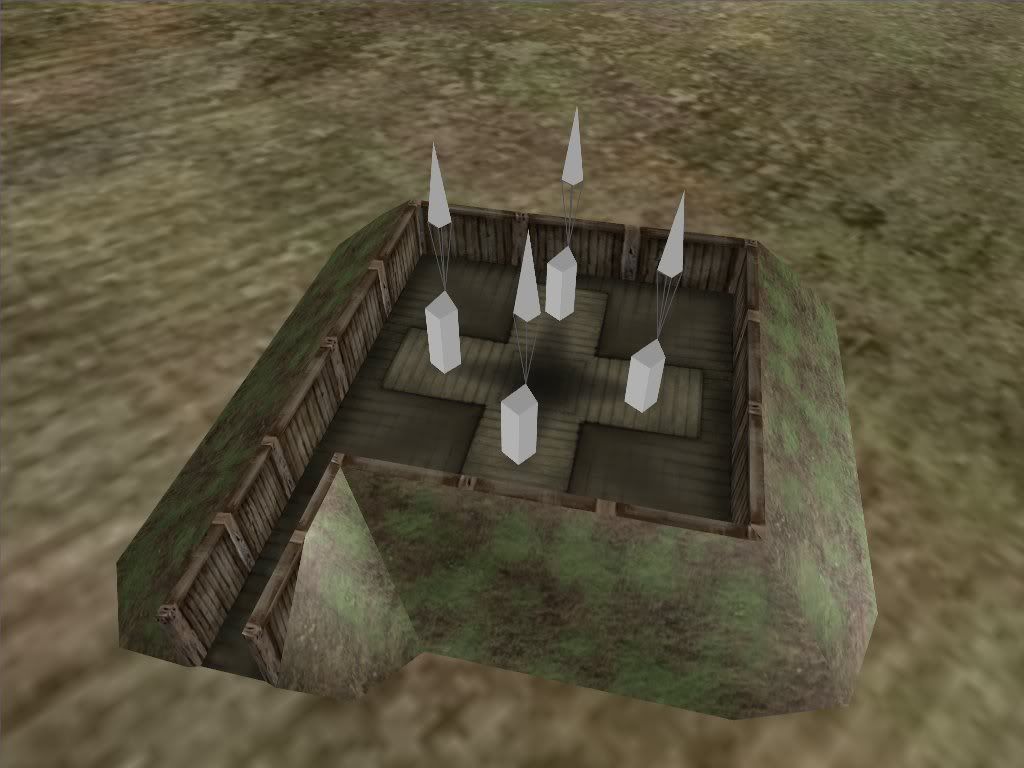
They fire in 4 round salvos, eacg launcher firing 1 second after the previous.
1....2....3....4.... then reload.
One hit my auto-pilot Aircraft while I was looking at the flashes appear when they launch.
Another flak hit over Dover (thanks to Stickman's testing and Pic).
Stickman says: "I may now, have to re-think my tactics of making low level attacks with ME100's against airfields."

Here is what PAC things look like when their parachutes deploy, firing at me:
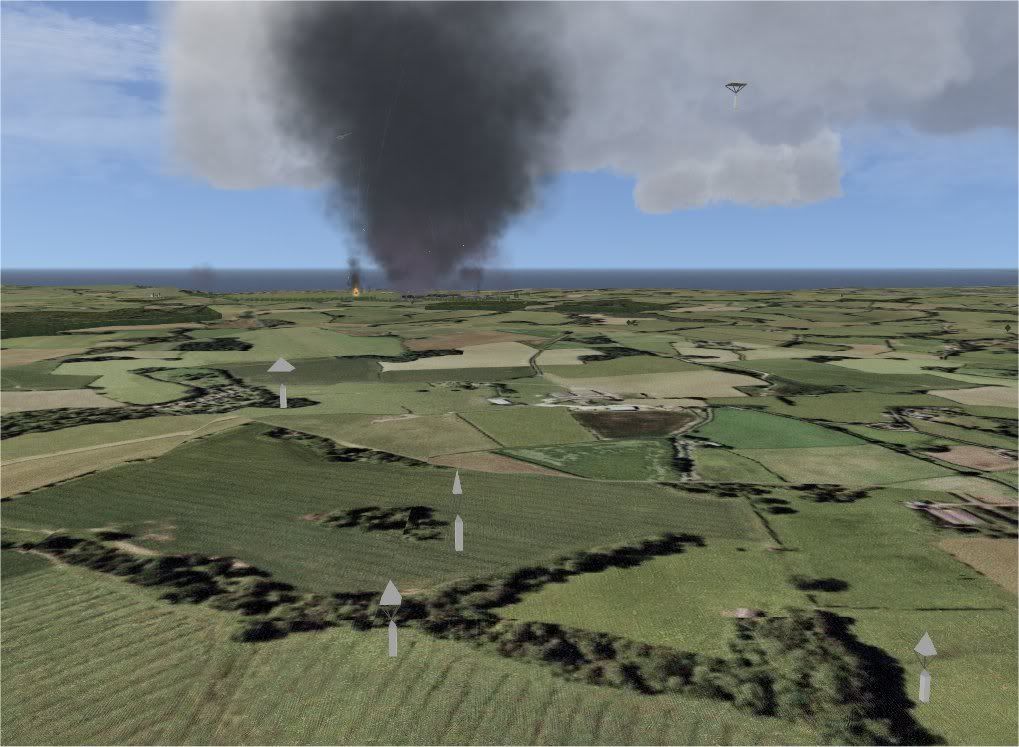
I do not know if a cable hangs below the objects. I see them firing in salvos of 5.
After launch, before the chutes come out, they look like flying white balls.
I mentioned some where before, that they do not shoot straight up, but launch at a target.
I have been destroyed twice by the things in all my BoB play, only around Hawkinge.
If you hear the same sound at Hawkinge, as with the balloon cable hit sound, you've met one.
A big Texas thanks to Heinkill for this outstanding testing and reporting in the Beta Forum. I thought you guys may be interested:
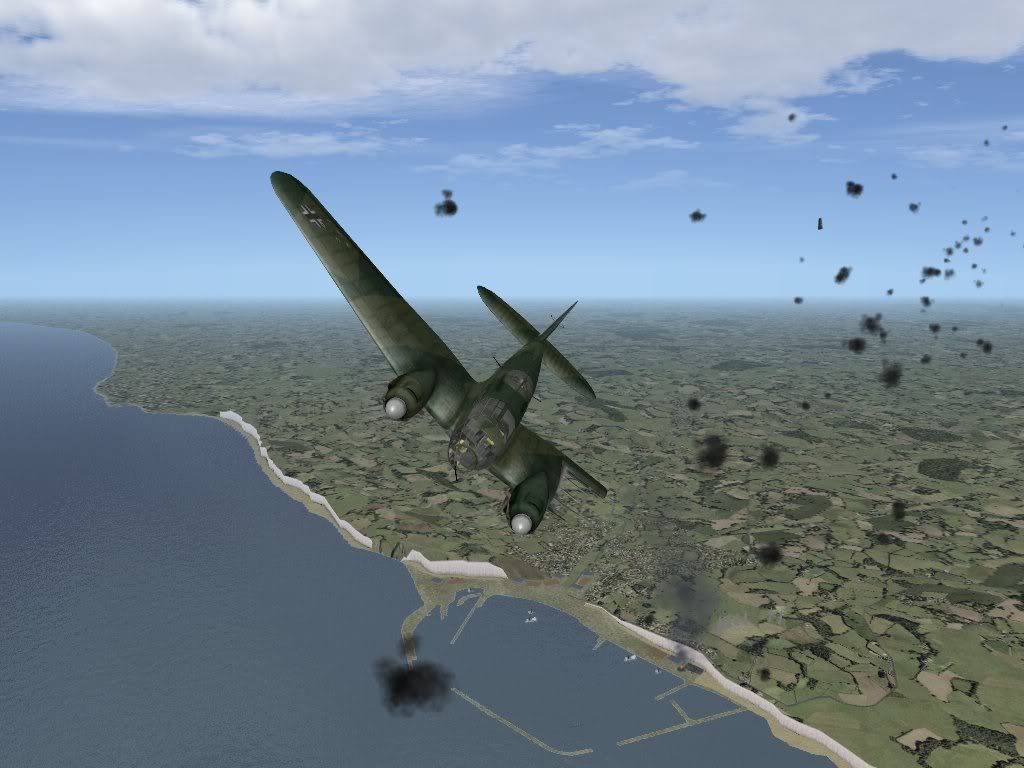
Tested 2.09-16 for flak impact on LW medium bombers using IA Intercept Scattered Attackers>Biggin Hill>He111. 5 runs for each flak size.
Flak size 20 metres: Losses (out of 15) 9/7/9/10!/7
Flak size 15 metres: Losses 7/8/6/6/7
Flak size 13 metres: Losses 5/3/2/1/2
Flak size 11 metres: Losses 0/0/0/1/0
Flak size 10 metres: Losses 0/0/0/0/0
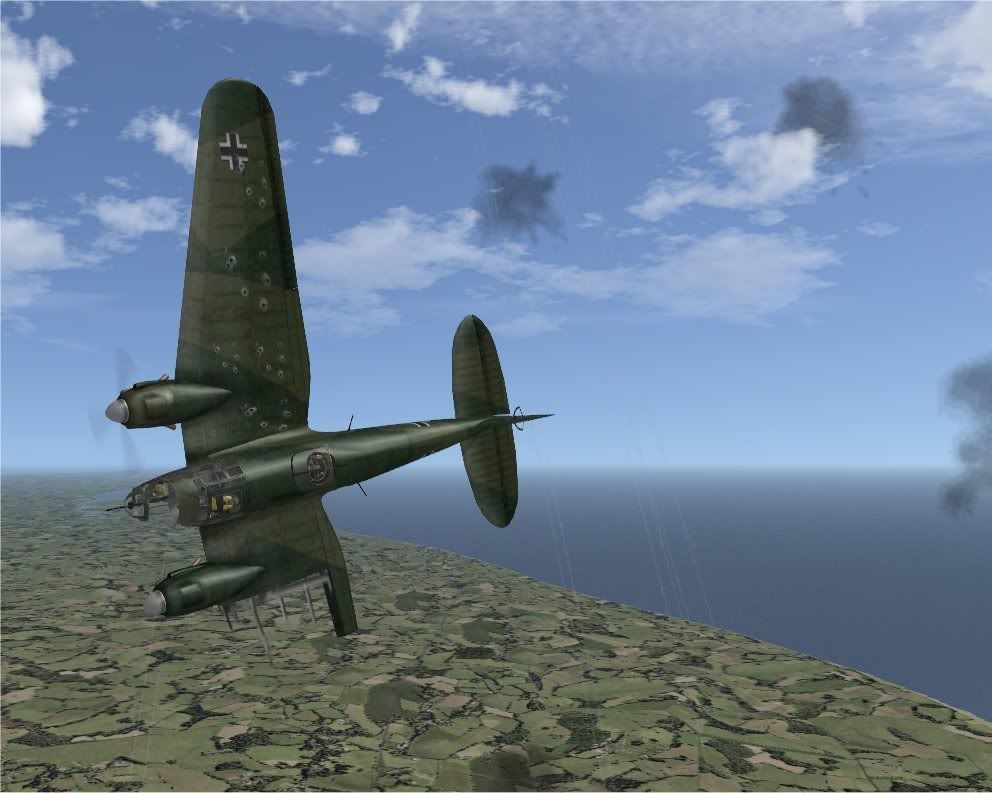
You can just see in this shot of one of the 20 metre flak runs, three bombers hit, one in foreground going down, two others have just lost wingtips. I think 11 metres (the default) is actually the sweet spot! It was quite surprising what a difference just two extra metres had.

When you examine the formation from side and front you will see that there is now quite a clear 'flak box' around the bombers, where previously the flak was typically low and late.
Side
 Front
Front
 You can clearly see the difference from the old 2.08-hotfix 2 (old flak) here:
 My ten cents worth on the 40mm low altitude stuff
: Challenging but survivable using the right tactics (fly to live), which gives the gameplay that new edge people are always looking for.
And the 'wakeup' setting is just right now - here is where the AA wakes up for the IA low level attack mission - about five seconds before bomb release, meaning that all important first pass is pretty survivable.

Let's face it, how many times
should you go back for a second or third pass or stooge around on top of the airfield?! In reality you would come in low, pop up, dive in for the bombing run, then scoot - extend away until you were out of sight of any AA. Only then would you possibly return.
The way I do this with the new flak setting is as follows (flying as staffel leader)
- Ingress and bombing run
- Egress and extend at least two to five minutes from target.
- Call staffel to regroup on the leader
- Reform
- Reorient to target, ingress again (AA should have gone back to sleep by now)
- Padlock new ground target and order attack
- Egress and order regroup
- Go home before RAF arrives
Guarantee you have a better than 1/3 chance of survival... 8)
I'm just about ready to sing ALLELULAH Buddye. This has been on my wish list for years!
Historic Raid on Kenley, the Germans can no longer raid the RAF without the British giving them some payback.
