Test AAR: Crossing the Shatt-al-Ka
Posted: Sun Jul 12, 2026 9:02 am
Hi all, I've been working hard at a total conversion mod set in a fantasy world with 1940s-equivalent tech.
I've always been a modder at heart, and I came to Stalingrad for its amazing WEGO system, waiting for the moment I could create all kinds of fantastical scenarios with it.
All my scenarios are intended for Hotseat mode since imho the AI is not advanced enough to provide a proper challenge unless I seriously unbalance the scenarios and/or spend way too much time programming every single unit's paths for the entire scenario. Honestly, Hotseat is just a better choice.
Hex scale is 3km, every turn is roughly 8 hours (3 turns per day).
Units' scale goes from Brigade (size 5) to Regiment (size 4) to Battalion (size 2); hex max stacking size is 9. Regiments can split into Battalions.
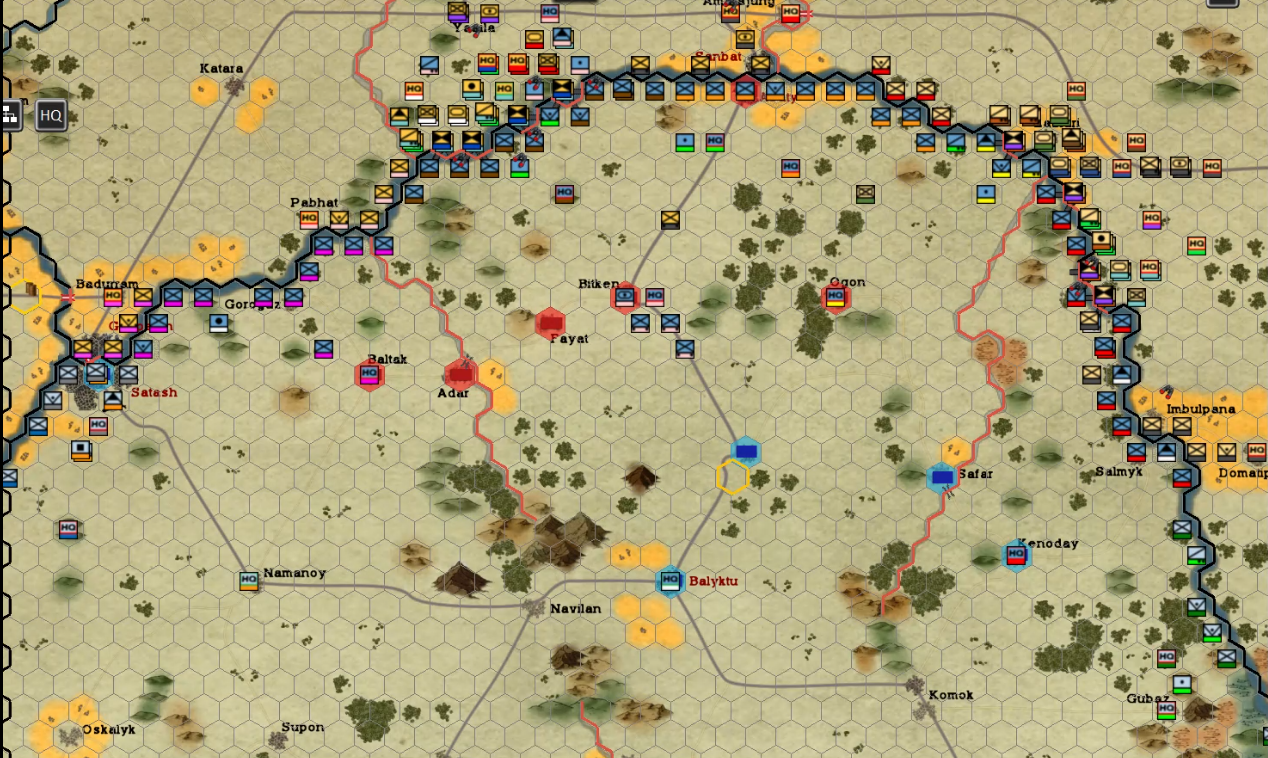
Here's a test run of my first scenario (so far 4 scenarios are done and tested): a large armored and mechanized force uses combat engineers and bridging units to cross a big river against unprepared defenses. The defender's troops didn't expect a crossing and will be locked in place for several turns.
I've always been a modder at heart, and I came to Stalingrad for its amazing WEGO system, waiting for the moment I could create all kinds of fantastical scenarios with it.
All my scenarios are intended for Hotseat mode since imho the AI is not advanced enough to provide a proper challenge unless I seriously unbalance the scenarios and/or spend way too much time programming every single unit's paths for the entire scenario. Honestly, Hotseat is just a better choice.
Hex scale is 3km, every turn is roughly 8 hours (3 turns per day).
Units' scale goes from Brigade (size 5) to Regiment (size 4) to Battalion (size 2); hex max stacking size is 9. Regiments can split into Battalions.
Here's a test run of my first scenario (so far 4 scenarios are done and tested): a large armored and mechanized force uses combat engineers and bridging units to cross a big river against unprepared defenses. The defender's troops didn't expect a crossing and will be locked in place for several turns.