


This is a compact Distant Worlds 2 guide intended for maximum difficulty, which can be too easy when using an overpowered government - that's why I've included tips on how to make things more interesting. Basic information isn't included, though some tips present in the Galactopedia may be (I'm assuming most don't read the whole thing). Topics covered are General, Strategy, Design and Tactics, Weapons, Species and Test Setup, in that order.
Before we begin, check out Scott's DW2 guide. I strongly recommend reading about game setup (page 4), automation policy (page 8) and the breakdown of how state/private economies interact (page 48). If you're starting out, consider Nightskies' New Player Walkthrough for your first game. I've also posted a list of suggestions based on problems revealed here.
DW2 tips you'll find via search engines in posts and comments are commonly false, whether outdated or based on conjecture (plus often tested at low difficulty). Specific info listed here may also become outdated after major patches, so keep in mind that the current version is 1.2.2.0.
Suggestions and criticism are welcome. Refer to any tip in the comments using "3.2-7b", which means chapter 3, section 2, point 7b. Use Ctrl+F to search!
Lastly, if the game is crashing during battles, go to Settings/Display and change Rendering Mode to DXVK. Read the tooltip and change Gamma accordingly.
Chapter 1: General

1. Though it's possible to save-scum and min-max your espionage missions, colonization success, initial diplomatic standing and other factors, the game is meant to be played by just taking the hit when things go wrong. Don't worry - you'll be fine. Or not. Playing the underdog is fun and there are several empire balancing mechanics such as espionage, tech capture and power envy. Perhaps most importantly, restarting keeps the game fun. Expect multiple playthroughs.
2. High difficulty has a strong impact on which strategies are available to you (especially via harsher reputation penalties and lower espionage success rates). A very "challenging" universe makes lower difficulty just as challenging as max difficulty. Apologies for the confusing terminology: "Difficulty" refers to the setting (Easy/Normal/Hard/Very Hard/Extreme) while "challenge" refers to how hard the playthrough is.
To increase challenge, add problems for yourself:
- Stronger neighbors
- A more aggressive galaxy
- Refuse to make deals with pirates
- Automate areas best handled by the player
- Roleplay suboptimal strategies, like a military genius forced to deal with an incompetent leader, or a Boskaran empire without diplomacy, hell-bent on exterminating all other species - especially those filthy humans
4. For general play governments, Mercantile Guild (Haakonish/Teekan) is overpowered, with extra income from trade agreements not tied to difficulty. Hive Mind (Boskara/Dhayut) is overpowered due to huge corruption reduction, near-infinite leader rule periods, better travel times in occupied systems (warp accuracy) and massive population growth during war, offset by slower research. Republic is strong but not overpowered. Military Dictatorship, Feudalism, Technocracy and Surveillance Oligarchy are currently the worst. Note that research speed isn't as important while you're gaining technology from captured ships and espionage.
5. Characters gain skills/traits while performing activities, usually specific to the activity. Your first leader will likely have a shipbuilding skill since that's what your empire is doing when the galaxy is created. Generals can be specialized by invading colonies or recruiting troops. Admirals will usually gain the Hyperspeed skill by flying around or combat bonuses through fleet combat.
6. The most profitable population policy is setting its most suitable species to Assimilate (which also means "attempt to populate") and all other species to Resettle, which prevents immigration.
- Extermination causes a reputation penalty which makes your colonies less happy for decades and thus less profitable, and severely angers all factions which consist primarily of that species.
- You'll want a troop recruitment/cloning colony with a recruitment General.
- Add species to your empire by annexing existing colonies or via Migration Treaties.
8. I recommend playing pre-warp on max difficulty in a harsh starting system at least once, to help you understand the game's mechanics. Note that the game's random generation restrictions (or lack thereof) currently don't support various setting combinations, especially in small galaxies, so you can hit hard walls which simply cannot be overcome like being stuck in a corner with zero ability to expand. Always restart when this happens - it's clearly not intended. Thus I don't recommend this for normal play. If you prefer detailed designs, start at T3-4 research. If you prefer the hightech stuff, try T7.
9. For initial research on a pre-warp empire, by far the best option is Early Warp Field Experiments, then either Stable Warp Fields or Research Labs, followed by the other. You need Warp Bubble Generators (WBGs) as soon as you can, though the combination of all three can be done more quickly by getting Research Labs first (+50% to all research speed) at the cost of postponing WBGs somewhat. This will cause your empire to sit around in a fully explored home system for a while, which can be mitigated slightly by building less explorers at first, freeing up cash to spend on crash research.
10. The first thing a pre-warp empire should do is:
- Set taxes to 0 (until the empire can become passively profitable, which then allows growth/research funding via taxes).
- Crash research Early Warp Experiments.
- Build a Spaceport with two Construction Yards and a Research Lab.
- If the colony has a research bonus, build a Research Station.
- Build 1-2 Explorers. Make everything bare-bones except for functional components - an Explorer should have lots of Fuel Cells and a Miner many Cargo Bays.
- If using a government which gives a happiness bonus on leader change, dismiss the leader frequently unless you get one with +population growth.
11. Early on, consider that private income is what you're taxing on your colonies. Before your empire becomes profitable, lower taxes means faster population growth and you can regain the untaxed funds with ease. Don't worry too much about negative funds at this point. Just don't do this when your empire becomes passively profitable, as you want positive income to be used for research and colony growth. If your empire again becomes unprofitable, for example due to Protection Agreement costs, set taxes to 0 again temporarily. You can make a "Pre-Tax" save to see if you're ready to start taxing again (set tax to Auto, check funding tab).
12. Crash research whenever possible. The exception is when you need the funds for diplomacy (including peacefully colonizing an independent colony) or building ships/stations.
13. A tier of research should be fully researched before moving on to the next, due to lower research times, with a few exceptions: Hyperdrives, Survey scanners, Ion Shield/Armor, a primary weapon, empire-boosting facilities, Planetary Governance and colonization, roughly in that order.
14. There is more research than what is initially visible, even if set to "display all projects". By playing you can unlock "super" research options, which have no prerequisite technologies and often outperform everything else in the same category, allowing you to skip tiers and go straight for the super if you have high research speed, though I'd only recommend that if the research period is ~8 years or less. You'll also find repeatable upgrade research at the highest regular tier (below super).
15. Troop cloning facilities take the best troops stationed in your empire. They needn't be at the same colony.
16. The default number of planets works for short to medium games, but can be too many for very long games, especially with high colony suitability settings. It also increases micromanagement. Your hardware and preferences determine the right number of colonies in the game. If you want a big galaxy or long game, set the colony suitability setting to its lowest. You'll still be able to colonize an absurd amount using colonization research.
17. Sometimes, bad Hyperspeed pathfinding can be solved by clicking on empty space as opposed to an object.
18. Though subjective, I prefer not to use victory conditions as they're a bit unimmersive. However, they can be useful as a recommendation on how to roleplay your chosen species.
Chapter 2: Strategy

1. Fast progress is key, offset by empires' tendency to declare war on more powerful empires. I'm unsure if envy is caused by territory, population, technology, economy or some combination. High population growth causes your empire to expand more rapidly, causing its borders to span further, offset by the likelihood of overextending your fleets. Still, the empire with the best early-to-midgame usually dominates the galaxy.
2. Diplomacy is extremely lucrative and overpowered if you play it smart, even for military playthroughs.
- Befriending everyone lets you pick who to go to war with and prepare your invasion.
- Don't spend credits on trades unless you have to; trade Ruin information and introductions whenever possible.
- The default gift value range (12.5k-37.5k) is a good estimate for optimal gifting. Larger or smaller is less efficient. The long-term relations bonus for gifting has diminishing returns and caps at 10, but the temporary bonus still works.
- Treaties generate a large amount of relations. Gifting can be used to achieve treaty thresholds via the short-term gains. You can make a pre-gift save to check if your gift enables a new treaty, though you may need to wait a few weeks for the other faction to make the treaty offer.
- Trade independent colony information with all known factions just before colonizing it, or when you see another empire colonize it (look for Troop Transports and Colony Ships).
- Earn large amounts of information by stealing territory/galaxy maps, which can then be traded.
- Factions will gain information themselves, meaning you can no longer sell that information to them - a good reason to first trade information found near them.
- Information isn't worth the credit cost unless you're playing on low difficulty. Exploit this by constantly draining your neighbors' cash.
3. To peacefully deal with pirates, immediately get a Protection Agreement. Gift diplomatic introductions and cash until relations go over 12 and wait for them to offer a Non-Aggression Agreement. Past 15-20 you can make the offer yourself. This removes the Protection Agreement cost and makes them your allies. You can still attack them later:
4. Capturing or destroying a pirate base causes many of their ships to join you, which you can then use or retire for technology. I strongly recommend retiring if the ship has components which you haven't researched yet.
- You'll sometimes want to keep the pirates around for capturing so you can extract even more technology.
- They can't conquer colonies, which lowers the risk, but beware that once you start shooting it can become impossible to move back towards peace and they will become a massive problem if you can't manage them militarily, which can result in a downward spiral stagnating your empire's progress.
- They will capture your and other factions' ships, making the snowball factor potentially disastrous if not managed, especially if they capture Hive ships.
6. If you capture or find an abandoned spaceport, keep it for the research bonus.
7. If you're forced to use an unsuitable species to colonize an independent colony, do it with the absolute lowest number of colonists you can get by loading colonists at 1/8th speed and aborting the loading order as soon as the first colonists appear in the passenger hold. The resulting population will remain tiny and is easily resettled later while the origin colony loses less population.
8. Colonies' distance from the capitol increases corruption, though the +10 happiness from living in the capitol can sometimes be more valuable on your most profitable colony. The best colony to build "can only have 1" facilities is often the most profitable, which means a combination of high size and high suitability, though the soft cap for colony Development is 120 so it can be useful to boost colonies which have less (often inside nebulae).
9. Create and abandon a colony to give yourself independent colony information to barter with in diplomacy. Suitability doesn't matter. If a colony is out of reach you can also colonize a planet closer to it, then colonize your target and abandon the in-between colony. The double colony ship cost is regained over time.
10. Use Shift to display distance when pointing at an object with another selected; useful if you've set colonization distance limits (default is 300m). You can also use this to determine fuel range requirements for your designs. Note that colonies with less than 20 suitability often become profitable as they grow towards max population, but this takes a very long time.
11. Excess Private Economy Cash (PEC) is best spent on Mining Stations, both for redundancy in war and as a buffer against enemy threats.
- Mining Stations should have maximum durability (including Ion Cannons and PDs), giving defense fleets time to arrive.
- Spending all of your PEC will harm your ability to expand as you'll be unable to build new stations quickly, hence I recommend reserving ~25k PEC for expansion bursts.
- Too many spread out Mining Stations can cause Freighters to waste time retrieving resources you don't need; a good reason to keep your supply lines tight.
13. To plan Mining Stations, check the Resources tab to see which resource you need, then go to the New Mining Locations tab and filter for that resource. Always keep the excess above 10 for all resources, if you can - it's sometimes even worth going to war over, but only if you win.
14. Even if your empire has enough Caslon (fuel), putting a mining station on a Caslon source will give your empire a refueling station. They're rarely wasteful.
15. Tourism is only profitable with a few Resorts due to their maintenance costs being paid by the state (you).
- Proximity to your colonies is key as this reduces travel time for passenger ships, though high Scenery helps too.
- Recreation Centers are most useful due to their happiness (income) bonus to attached colonies.
- To correctly calculate tourism profits, check "Economy/Annual Bonus Income/Tourism (previous year)" and subtract maintenance costs under "Economy/Maintenance/Other State/Resort Base".
- I recommend placing a Resort over each colony which can have one to provide close-by tourism and act as a (weak) defensive base, then ignoring the other resort locations. This also frees up your Construction Ships.
- Note that T4 Med/Rec add another +1 happiness, and more at higher tiers.
17. The most damaging spycraft mission possible is to incite a revolt against an empire with a powerful government type.
18. Counter Espionage can be used to capture enemy spies and prevent their missions' success. You can sell the prisoner back to its original empire at good value. Behind the scenes they will try to steal your tech and galaxy map (information), making Counter Espionage useful to maintain your tech and information advantage.
19. A quick way to increase a population's assimilation, especially after a successful invasion, is to force a rebellion and quell it. To do this, set taxes to 100% and make sure to have some troops stationed. Around 1000 strength is often enough. This may be repeated up to 3-4 times for 100% assimilation. Make sure not to have low-HP troops stationed to avoid losses, and the extra troop XP is a handy bonus.
Chapter 3: Design and tactics

3.1 General
1. Prioritize Ion Shields at T3 research. This also helps against the Hive. At least 8 ion defense nullifies the damage and some disable effects of nebulae, making T4 Ion Armor even better for civ ships due to added armor and lower size (faster speed). Inside those nebulae you can find super research, hightech abandoned ships and the best potential colonies. Your Explorers won't normally go there unless they have ion defense (except due to pathfinding bugs - easily fixed using the game editor).
2. Generally, don't put weapons or significant defenses on civilian ships except the mentioned ion defense. This approach increases their speed, fuel efficiency and decreases cost/maintenance, which benefits your whole empire. They don't contribute in war and can't kill creatures until it no longer matters. If you find them dying in the crossfire over your colonies (enough to disrupt your logistics) and you have excess PEC, add some defenses. If your private economy is booming and you have excess resources, however, you could use civ ships as crude Missile boats for added firepower - just make sure they flee quickly.
3. Freighters benefit from more Cargo Bays. Passenger and Colony Ships benefit from more Passenger Compartments. Always fill your Colony Ships' excess space with them to jumpstart new colony growth. You'll commonly see ships transporting while mostly empty because the demand is less than capacity, but when you're running into deficits they'll need the space.
4. Small ships are often better due to larger hulls being disproportionately expensive, which is probably unintended. Don't rush (or even use) newer ship types as they're less cost-efficient. A swarm of Frigates with good technology will destroy anything you point them at. Keep in mind that the Maximum Size stat is misleading, as the ship's hull size is deducted from it.
- Small Constructors remain excellent because the Medium version doesn't get faster construction nor does it need more cargo space. For example, my T4 Large Mining Stations (the largest built by my Constructors) require 705 total cargo space and one Cargo Bay has 1400 capacity. More Small Constructors will build far more rapidly, cheaply and with less fuel costs than a few Mediums.
- Small Explorers are best to field large numbers.
- Medium Freighters have their uses in bulk resource transfer (which the AI prioritizes them for), but otherwise Small Freighters are best.
- Civ ships can be upgraded to larger types if you have excess resources, to deliberately overshoot your empire's demand. A nice trick for Miners and Passenger Ships, which you can't have too many of.
- Basic Frigates are the best combat ships over Escorts due to the extra defensive slot.
- Quameno Fleet/Heavy Frigates get a fourth defense slot and 25 extra component space (40 max size yet +15 hull size) but their cost increases by ~38%. Not worth it unless using expensive components like Gravs or later tech. That logic applies to heavier ships as well.
- You can even build a good command Frigate using speed-tanking: Add a Beam PD for the weapon requirement, then maximum speed Engines, Fleet Countermeasures/Targeting, Hyperdeny and defenses. Set to Evade. If there's size left over after the necessities, add more PDs. The most economical, passive command ships are Light Cruisers (not later variants), though an active command ship with more weapons can be fun.
6. Energy Collectors (ECs) function when stationary inside a star system. Therefore:
- On stations, the reactor only needs to cover the static energy cost (because of design requirements) yet ECs should power everything.
- On ships, ECs should cover the static energy cost, else they consume fuel when idle.
8. The "Retreat when" setting is important on ships:
- Civilian ships should usually be left on the default "when attacked". If set to "enemy nearby", a single hostile can prevent them from docking even when not in danger, which is highly disruptive.
- Military ships should flee soon enough to prevent losses yet not too soon, to avoid weakening the fleet mid-battle. I recommend "Shields below 20% or Armor below 50%" in most cases. "Never" could theoretically strengthen a fleet if you can easily replace its losses, though in that case you should build a larger fleet instead.
10. Long Range Scanners (LRS) dramatically improve your fleets' ability to intercept threats. These work well on Spaceports, Monitoring Stations and fleet command ships but can be equipped on cheap Explorers (they'll need a Resource Scanner due to design requirements).
- I recommend making a separate design named "Explorer [LRS]" for easier identification, stripped to the bare bones minimum (just one T1 engine) with sufficient ECs. Make sure that your regular Explorers don't retrofit to this design, for example by re-saving the regular design a day later (default retrofitting is "Latest"). Set the LRS design retrofit to "None" until you upgrade it, keeping the retrofit path tight, in case you forget to...
- Set LRS Explorers to manual while they're being constructed, else you'll have to sift through the entire Explorer list to find them. You can also hotkey them with Ctrl + (number) as a reminder.
- Position these so they cover all of your occupied systems, in star systems (for the ECs). Once in place you can easily find them by filtering the Explorer tab for idle ships. Useful as you'll need to retrofit the LRS components manually.
- Once you've explored the entire galaxy, only retire the automated Explorers.
12. One Assault Pod can deliver one troop squad during invasion. A base troop compartment (capacity 10.000) holds two base infantry squads (size 5000) and thus needs two Pods. The ratios change as you start upgrading the components and unlock new squad types.
13. A capture fleet uses Assault Pods to steal enemy ships' technology and some of their build costs (through retiring) or gain ships for your own use - an easily overlooked aspect of the game. Early on this can turn an angry pirate faction into a lucrative opportunity, quickly advancing your tech. It's important to learn how many Pods to send at a ship, never all Pods in your fleet - I managed to capture a 25k strength Hive fleet with an 11k strength T3 Blaster fleet with this way (using 40 Fleet Frigates), through micromanagement.
14. Defense fleets will intercept an inbound threat if detected. Attack fleets will select empire targets during war. Both can engage "dangerous locations".
- Defense fleets are largely optional as they'll spend a lot of time idling. Attack fleets may see more use, at the cost of more micromanagement. A combination of both is most "comfortable", if you can afford it. Keep in mind that defense fleets can also be used as attack fleets, and vice-versa, by changing their AI settings (clearly shown in the fleet overview).
- Always make the fleets large enough to crush their targets with minimal losses.
- For defense fleets, good (overlapping) fleet coverage is important, which is why many smaller Defense fleets are superior to a few oversized ones. Just watch out for excessive losses, and keep in mind that response times need to be quick (based on Hyperdrives used). A 50M engagement range works well early on and can be increased later.
16. The Large Mining Engine radius only works when built on an asteroid, not a planet or moon. Check for the white circle to see if the mining radius is active.
3.2 Combat
1. Maintenance per year is roughly 1/25th of the ship's initial cost. That's why avoiding losses is important. As a result, fleets should overmatch their targets quite severely. Perhaps counterintuitively, rushing the enemy can reduce losses through faster killing - standoff tactics aren't necessarily safer unless they counter the enemy's tactics.
2. Armor mixed with shields is better than full shield spam, to handle shield penetrations and allow damaged ships to flee without taking internal damage. Armor/shield balance is nuanced due to the commonality of shield bypass weapons, the size-to-hitpoint advantage of shields plus lower size/energy requirement of armor. Some enemies favor one over the other. In defensive slot numbers, 40% Shields/60% Armor works well. Hightech damage control makes armor more potent than it is at lower tiers, but full armor + repair spam isn't competitive.
3. The most important shield stats are recharge and resist. Shield amount comes after.
4. Damage Control (DC) applies only to hull, not armor or shields.
5. Targeting and countermeasures determine an attack's chance to hit, which applies to all weapons. They effectively function as damage modifiers and are extremely important, more so than sheer weapon numbers. Note that stationary targets are easy to hit regardless of their countermeasures.
6. Fighters are a unique ship type housed in Fighter Bays. They have good DPS and a severe counter in the form of PDs. Bays can't be filled with one type of fighter so they always need both an Interceptor and Bomber design to be available. Their Reactor has fuel, so don't add Fuel Cells unless you think they're needed! Don't forget to set their tactics, like Cautious used with Missiles or Aggressive with Blasters. When designing a ship, Fighter Bays may not be a better choice than more/larger weapons - it depends on whether the target has PDs. The Hive may give the impression that Fighters are extremely overpowered due to their Carrier tactics, but that's misleading - it's actually their technological advantage that is overpowered and their non-Fighter ships use bad designs.
7. Fuel Tankers reduce the need for Fuel Cells on roaming fleets but are annoying to use: Their mining rate is low, they cannot refuel themselves (so you need 2 per fleet) and they must be left on Automatic to do their job. The Remote Fuel Transfer range doesn't work as advertised, so speed and numbers are important for quick refueling (which is why Small Fuel Tankers are best). Tankers can be ignored in smaller galaxies if you prefer.
8. Different component types within a category often don't stack, like Reactive Armor/Shield Resist (RA/SR) or Hyperdrives. The worst stats between them then determine the ship's overall stats, as seen in the summary. Different categories can stack, like targeting/countermeasures (including from Thrusters and Vector Engines), Capacitors (which enhance shields from a general slot) and ion defense. There are exceptions, like shield recharge always stacking, so check the summary to make sure.
9. Very Tight formation is best in the vast majority of cases (often even if the enemy uses Area weapons). This lets a fleet focus fire and concentrate PD coverage.
10. There are three types of creatures: Gravilexes, which are weak laser bugs, Ardilus which have PD capability and Vordikar, by far the strongest, which damage hull directly. Only the latter ever gave me trouble but are safely dispatched using fighters, Beams or L Missiles (with micromanagement). In all other cases you may take losses when facing a Vordikar swarm.
11. If you've followed my general and strategy tips, the Hive will be the first serious and unavoidable threat you'll face. Ion cannons will be useless against Hive Carriers due to ion defense but PDs spam will annihilate their fighters, plus you can capture them (which also prevents fleeing). Catching them with a fleet can be difficult, made easier with good LRS coverage. The Hive will likely have superior technology, so expect high RA/SR and heavy shielding. Ideally, use Blasters with Assault Pods and micromanage the engagement (avoid S Beams, Fast/Conc Missiles and S/M Railguns). Another option is to ignore them, as they can't conquer colonies and will eventually move on to attack your neighbors.
Chapter 4: Weapons

4.1 General
tl;dr: Blitz tactics tend to win battles. That means fast ships set to Aggressive, with Blaster or Beam spam (to prevent wasted shots), a Long Range Tractor for range dictation and one Beam PD for defense, plus one Assault Pod for capturing. The best hardpoints for blitz are Boskaran, though Ackdarian, Dhayut and Quameno Frigates are even better - just not their later ships.
Besides blitz, standoff tactics are a strong choice which works great on species with bad hardpoints, including Boskarans. Standoff ships should be set to Cautious and fitted with Missiles and/or fighters. Ackdarian and Teekan Frigate carriers are excellent against targets without PDs, including most creatures. Blitz ships able to close the distance will defeat standoff ships. In reality weapons are more nuanced, however, detailed further down.
1. The golden rule for weapon combinations is to keep optimal range equal between them and build the ship to stay at that optimal range using the ship's AI settings. Blitz ships should be set to Aggressive and standoff ships to Cautious, against all targets. Aggressive ships face their target while Cautious ships rarely do - the AI turns for movement, not weapon angle. Tractor Beams push or pull the enemy based on the range which the ship is trying to achieve. Long Range Tractors are very good on blitz ships, even when replacing a weapon.
2. DPS/Size (DPSS) is far more important than DPS, except when lacking weapon slots (typically on "Fast" ship variants). DPSS is DPS divided by Size. This sadly isn't listed in-game so you'll need to calculate it yourself, giving you the best point of comparison, though it still won't include range, falloff, RA/SR or chance-to-hit calculations. I've included DPSS below for a quick overview.
3. Energy/Damage (ED) is another important yet unlisted stat. ED is calculated as energy per shot divided by damage per shot. To be clear, a shot which costs 1 energy and does 2 damage has 0.5 ED, meaning energy cost per damage dealt.
4. Note that the DPS numbers shown in-game include accuracy calculations! So, 5 raw DPS combined with 88% accuracy becomes 5 * 0.88 = 4.4 DPS shown. This is especially important when looking at inaccurate weapons' stats.
5. Large variants of a weapon usually have longer range yet worse DPSS. L Blasters get even better DPSS instead, unlocked at T6. These outperform even Boskaran Blasters.
6. Seeking weapons (and Fighter Bays) ignore firing angles, including Missile PDs. Perfect for side and rear hardpoints, especially those on stations or ships set to Cautious.
7. Because of hardpoint limitations, including those on stations, you'll want at least one seeker weapon type. Ships and stations will fire at multiple targets if their fire angles can't hit the main target, hence side- or rear-facing direct fire weapons can work when surrounded, but otherwise this should be avoided; especially since it prevents focused fire.
8. Turn rate is useful on direct fire designs, especially Boskarans, partly because turn-rate improving engines provide a countermeasures bonus and partly because this speeds up retargeting. The popular advice "always go for max-speed engine spam" works well, but it's sometimes better to add turn rate when you've got some size left over. Unfortunately, vector thrust is currently weak compared to ships' base turn rate.
9. Ships with a movement order will still fire if a target is in range, which helps avoid getting surrounded, especially when using Missiles. Direct-fire weapons have a reduced firing angle when doing this.
4.2 Comparison
Here's a rundown of the primary weapons. The (stats) refers to T4, specifically the S variant if available, for fair comparison:
- Blasters (DPSS 0.409, ED 0.55) are close-range with the best DPSS of all weapons and no hard counter, making them the most powerful raw damage blitz option. Combine very well with Assault Pods.
- Railguns (DPSS 0.403, ED 0.44) are close-range with 40% shield bypass but don't combine well with Assault Pods and struggle with RA/SR - a good reason to use Heavy Railguns (DPSS 0.186, ED 0.23). Powerful against hightech enemies with massive shield recharge.
- Ion Cannons (DPSS 0.166, ED 1.2) are close-range, they disable components (even through shields) and penetrate armor. Can disable Weapons, Shields, Sensors, Hyperdrdrives and Engines. Because of shield disabling they combine well with Assault Pods, though decent ion defense will prevent the disabling effect. T5 Ion Beams are very good at overpowering ion defense yet heavy.
- Beams (DPSS 0.240, ED 1.33) are accurate, medium-range with no hard counter yet high energy cost, and the S variant struggles with RA/SR. Larger beams get better energy efficiency and higher per-shot damage to overcome RA/SR, at the cost of lower DPSS. M Beams (DPSS 0.2, ED 0.67) are a great balance. Beams don't waste shots on destroyed targets, countering the swarming advantage of smaller ships. Works well with micromanaged focus fire as you can manually destroy targets one-by-one without the usual overkill. Extremely good against creatures if using a large fleet, often killing them before they can attack.
- Torpedoes (DPSS 0.244, ED 0.55) are seekers with high damage falloff, meaning that close range is optimal but they'll hit long-range targets as well. 40% less damage to shields but penetrate armor. They're great general-use weapons, especially on stations. Interestingly, when comparing shielded ships, Beams outperform Torpedoes in point-blank range. Therefore, the best niches for Torps are tight hardpoints in close range and range-versatility.
- Area weapons (DPSS 0.093, ED 0.64) can bomb large fleets effectively but are weak one-on-one and can damage your own ships. Never use them in combination with blitz ships.
- Gravitic weapons (DPSS 0.061, ED 1.32) go through both shields and armor to deal 22.5% hull damage, forcing ships to flee, but are very expensive and the research takes twice as long. They're good support weapons but in large numbers can also cripple targets quickly. Decent if micromanaged. If you have enough excess resources/PEC they can be good on stations too.
- Missiles are versatile seeking weapons with three distinct categories: Fast (DPSS 0.107, ED 0.29), Concussion (DPSS 0.092, ED 0.38) and Lance (DPSS 0.069, ED 0.25). They have bad DPSS but amazing range and low energy cost. Fasts can overwhelm PDs more easily and have the highest DPS and accuracy, which makes them outperform other Missiles in most situations, but struggle with RA/SR. Lances have 40% shield bypass yet don't struggle with RA/SR, similar to Heavy Railguns. Fasts and Concussions waste shots on destroyed targets very often due to large salvos.
- L Lance Missiles (DPSS 0.046, ED 0.25) are very different. They have the longest range of all weapon types, enabling them to stay out of enemy range if used on fast ships - especially with a Cautious stance. Evade is sometimes better but can prevent the ships from attacking targets with long range of their own, especially stations, so I wouldn't recommend that unless you micromanage the battle and switch to Cautious when necessary. They have awful DPSS, plus the AI will make piloting errors and commonly move into another ship's range. Due to stations' increased weapons range they should never be fitted with L Missiles. In short: Highly specialized and micromanagement-heavy. Fun, though.
- Assault Pods, while not technically weapons, are powerful offensive options used to capture the enemy ship. Low size (10), fitted in a general slot with a high crew requirement. Great if you have some crew and a slot to spare on the design. Boarding requires the shields to be near 0, then attempts to overwhelm the crew and if successful, adds the target to your empire. Your ships will do nothing during the boarding process unless manually re-tasked after the Pods are launched. Shield bypass is bad for damaging shields whether the number is positive or negative - you ideally want zero, meaning the shield bypass stat isn't listed in the weapon's details (above the intercept stuff). Pods are overpowered when micromanaged yet remain strong in AI hands, and don't require blitz due to their medium range.
A brief comparison for T7 hightech weapons, which have different balance due to the addition of Phasers. ED continues almost identically to the lowtech variants so I didn't list it. Forge Railguns don't have a T7 variant so I calculated it myself (T7 DPSS is T8 DPSS divided by 1.2):
- Titan Blasters (DPSS 1.12) are the same as normal Blasters and remain the best weapon in most cases due to extreme DPSS.
- Phaser Cannons (DPSS 0.622) penetrate shields, even more so than Railguns, and are slightly more accurate Blasters yet they struggle with RA/SR. A good second, though during testing even T6 Blasters outperformed these - a clear balance problem which will hopefully be fixed soon.
- Phaser Beams (DPSS 0.345) also penetrate shields and are very accurate Beam weapons which struggle with RA/SR. Unlike regular Beams, larger variants don't have higher per-shot damage.
- Phaser Lances (DPSS 0.206) also penetrate shields but are long-range Beam weapons (somewhat less accurate than Phaser Beams).
- EM Lances (DPSS 0.125) are Ion Beams which usually overpower ion defense.
- Heavy Ion Cannons (DPSS 0.333) are Ion Cannons which usually overpower ion defense.
- Rapid Ion Cannons (DPSS 0.48) are the same as regular Ion Cannons, which have problems with ion defense.
- Plasma Thunderbolts (DPSS 0.309) are the hightech Torpedoes, with extreme range.
- Hive Missiles (DPSS 0.219) are hightech Fast Missiles. Struggle with RA/SR.
- Hunter Missiles (DPSS 0.098) are hightech shield-penetrating missiles. They somewhat struggle with RA/SR.
- Forge Rail M (adjusted T7 DPSS 0.328) is the hightech Railgun. Struggles severely with RA/SR. Phaser Cannons are downright better.
- Forge Rail L (adjusted T7 DPSS 0.168) is the hightech Heavy Railgun. Phaser Lances are downright better.
1. Point Defenses are anti-seeker and anti-fighter weapons, which will attack normal targets when no intercept target is available. They attack seeking projectiles (Torpedo/Area/Missile), reducing their damage by the intercept damage or apply intercept damage to a fighter.
- Beam PDs are generally the best direct fire option due to their DPSS, range (coverage), near-hitscan speed and high accuracy, but at a very high energy cost.
- Ion PDs are very close-range, can be mounted on fighters and disable ships/fighters (though not Hyperdrives or Sensors), but they can't handle even minor ion defense. Powerful against fighters due to low ion defense, especially the final tier Ion PD.
- Railgun PDs are powerful against fighters due to their shield bypass.
3. Point Shields are anti-weapon weapons. They "attack" projectiles and beams, which reduces their damage by the intercept damage, but are easily overwhelmed by simultaneous attacks.
Chapter 5: Species

tl;dr: The overpowered option is determined by government, especially Mercantile Guild with lots of trade treaties. If you want government to be determined by species, as intended, then Haakonish or Teekans are best. Else technology becomes more important: The Dhayut for fast Hyperdrives, Quameno for Reactors/Shields or Ackdarian for great Frigates (carrier or blitz) and fast Engines.
Understanding the following factors helps interpret the species info:
- Troops can be hired from any species in your empire, but you'll want to know which to recruit troops from. The Mortalen are ideal. For colony defense, the native planet type bonus can favor non-mortalen options. Cloning your best veteran squad is usually even better, which often ends up being Mortalen.
- Species-specific tech can be stolen via espionage. A good reason to have at least one of each species in your galaxy. The Galactopedia sadly lists the names of species' components but not the names of relevant research, which makes choosing espionage targets (for species tech) guesswork, though I added the research names for the most important. I recommend making a savegame for each species to check their tech tree directly, or using the game editor to switch to another empire - still a hassle but at least you'll be certain. It's possible for AI empires to gain species tech from others. I evaluate species tech against the regular option when first unlocked, though higher tier regular options can be quite different.
- Though military species can be at war more often without weariness, economical and technological species tend to win those wars. Maintenance savings aren't as important as happiness and corruption reduction for fielding large fleets.
- Different species have different hardpoints and firing arcs on their designs. Front-facing hardpoints favor blitz, while side- and rear-facing hardpoints favor seekers.
- "Isolationist" means that there are debuffs for colonizing and/or diplomacy. However, you're forced to engage in colonization and diplomacy unless you're roleplaying, as isolationism isn't viable (more species and better diplomacy = easier colonization, better economy, less undesired wars, better troops etc.)
- "Best option for (biome) colonies" means that you'll always want this species on this colony type, if available. A handy reference list.
- I don't have sufficient information on the species' story events, which can be important.
- Choosing a species based on aesthetics is perfectly reasonable and should be the deciding factor if you're in doubt.
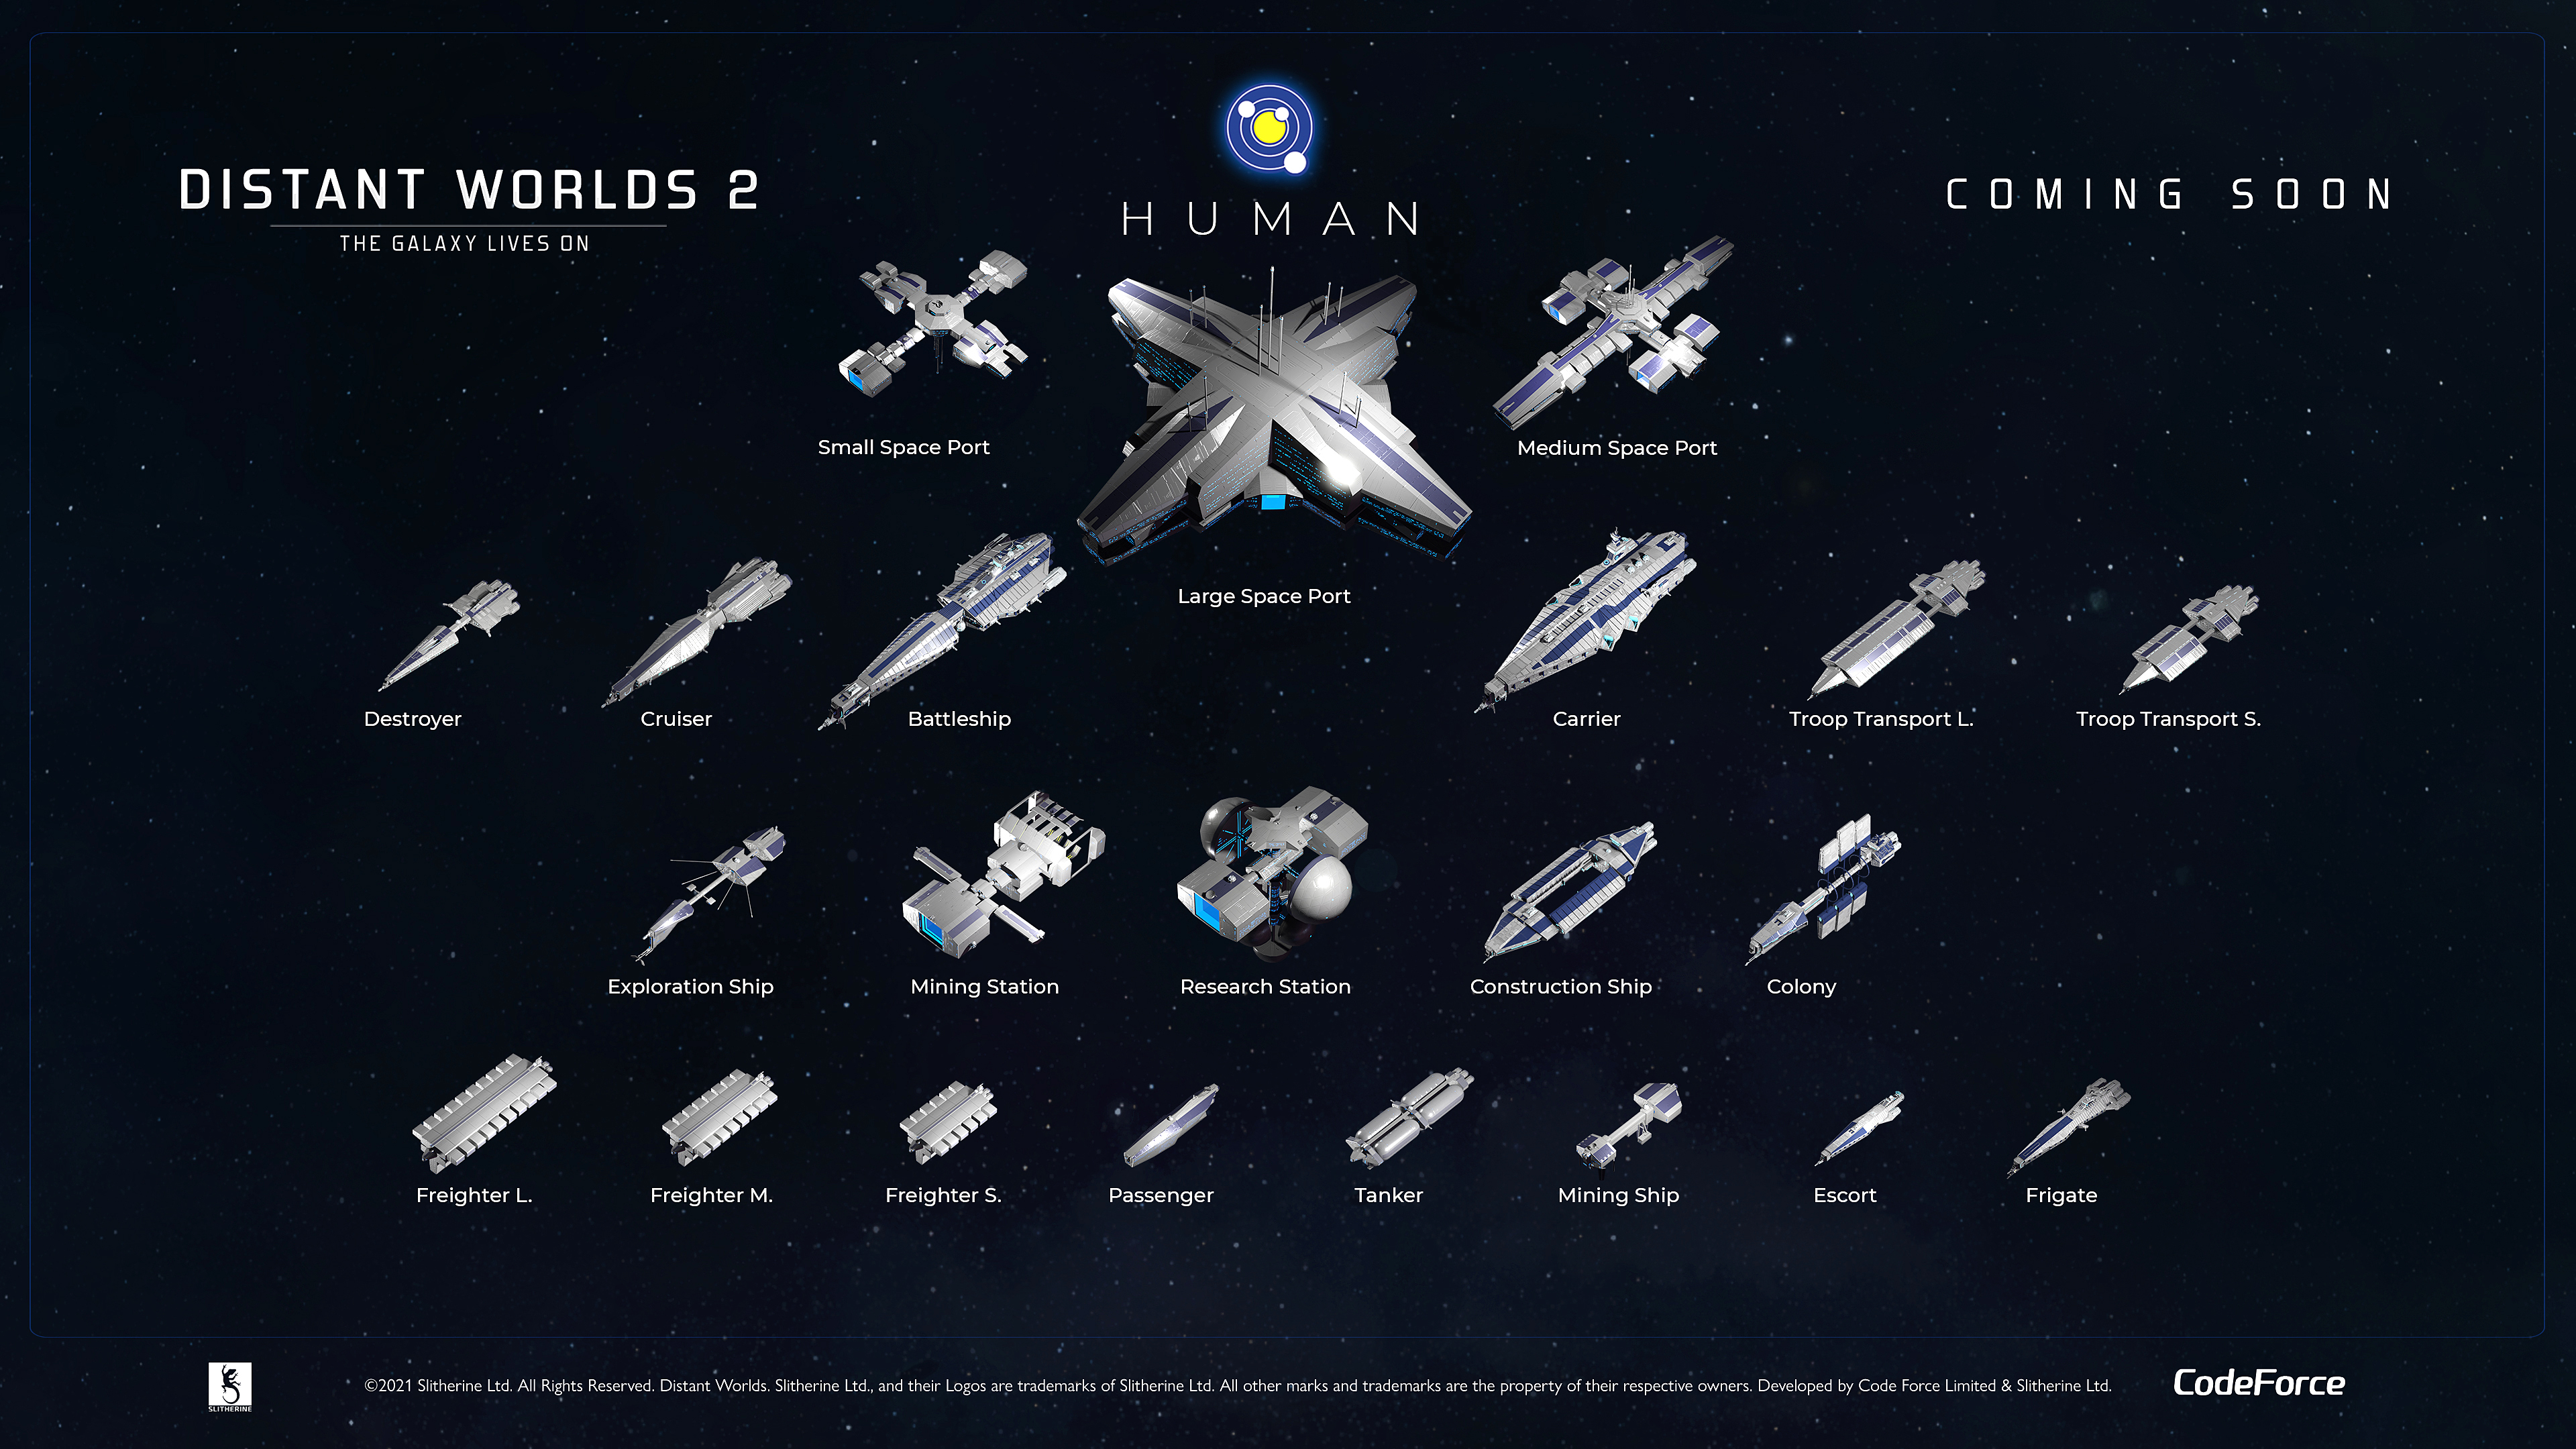
Play style: Balanced. Weak troops. Best option for Ocean (+30) and Deep Ocean (+25) colonies.
Combat ships: Moderately tight, front-facing hardpoints. Extremely versatile, from blitz to carrier tactics. Even their Frigates get a hangar yet great hardpoints as well.
Aesthetics: Gray, sci-fi rounded hulls with blue lighting.
Story: Starts with a Spaceport for an early +6 happiness via Med/Rec facilities. Gets a few free bases and tech after that, including a bunch of T1 diplomacy.
- TurboThruster (Ultra Efficient Engines): Very fast, lightweight engines. Deceptively good to improve offense/defense on ships. Slightly worse at max tier. Steal ASAP.
- Skip Fighter/Wave Bomber: Maneuverable Interceptors with improved targeting/countermeasures and heavier Bombers. Tier 4 only.
- Large Starfighter Bay: Double the fighters per slot with double size.
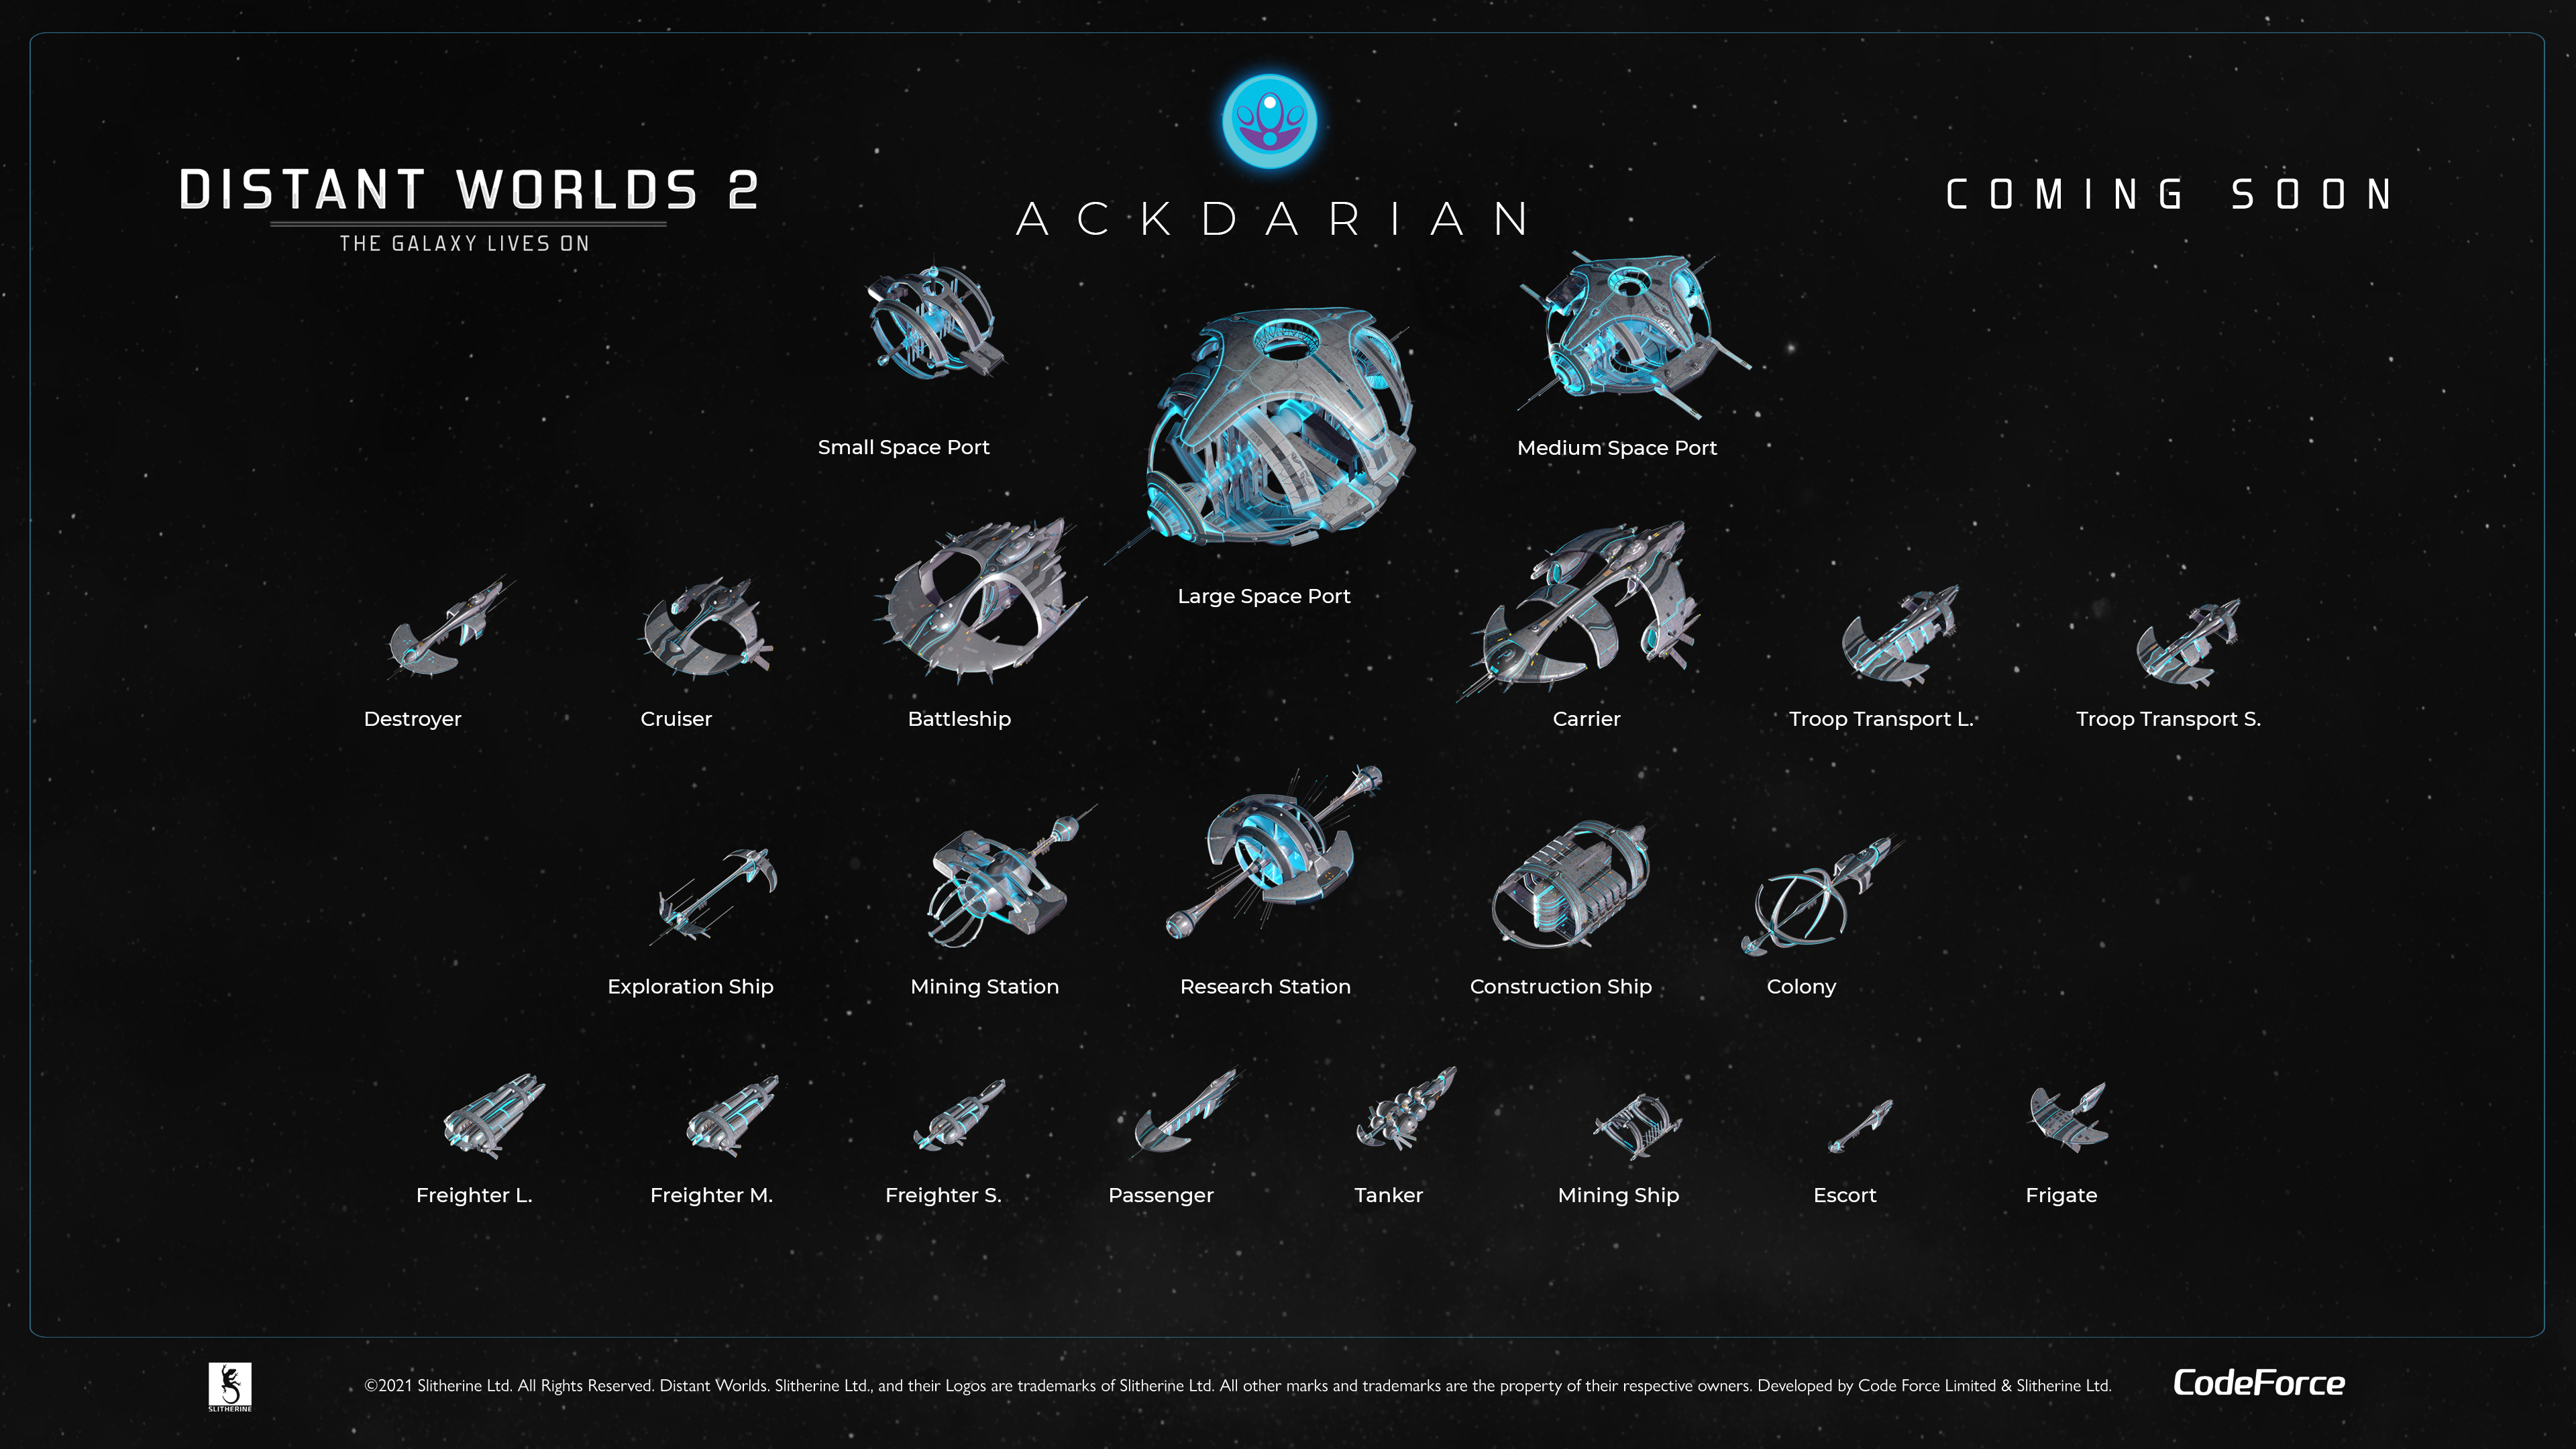
Play style: Military, isolationist. Excellent troops. Best option for Volcanic (+40), Sulphur Volcanic (+30) and Carbonaceous (+20) colonies.
Combat ships: Very tight front-facing hardpoints. If using direct-fire weapons, benefit massively from fast turning. Great for blitz.
Aesthetics: Dark purple, organic hulls with tendrils and blue lighting. Insect-themed.
- Plasma Blaster: Close-range Blasters with bonus armor bypass. Very powerful.
- Firestorm Torpedo: Torpedoes with slightly better shield damage and higher armor bypass.
- Flux Hardened Armor: High reaction rating armor. Becomes very lightweight at higher tiers.
Play style: Spycraft, fast Hyperspeed (for expansion and fleet intercepting). Good troops. Best option for Desert Savannah (+30) colonies along with Mortalen.
Combat ships: Moderately tight, side-facing hardpoints. Excellent direct fire Frigates.
Aesthetics: Dark brown, winged hulls with dim blue lighting.
Story: Gets a few free ships early which can be retired for tech, possibly including Hyperdrives. May also find hostile Ikkuro pirates with -30 relations.
- Velocity Drive (Pulse Jump Theory): Very fast Hyperdrive. Worse at max tier. Steal if you have less than 600k Hyperspeed.
- Terminal Operations Center: Spycraft facility.
- Enslavement Control Facility: Slavery improvement facility (more profit, less happiness reduction).
Play style: Military, boarding, very fast growth, isolationist. Characters are frequently lost due to infighting. Weak troops. Best option for Sandy Desert (+40) colonies along with Teekans.
Combat ships: Mixed tight and wide hardpoints, favoring combined weapons.
Aesthetics: Dark gray/bright yellow hulls with dim yellow lighting. Insect-themed.
- Hive Hangars (Hive Star Fighters): Double capacity Fighter Bays, faster repair. Steal if you use fighters.
- Hive Fighter Base: Far earlier orbital Fighter Bays with faster repair/building.
- Hex Armor: Higher HP, lightweight armor.
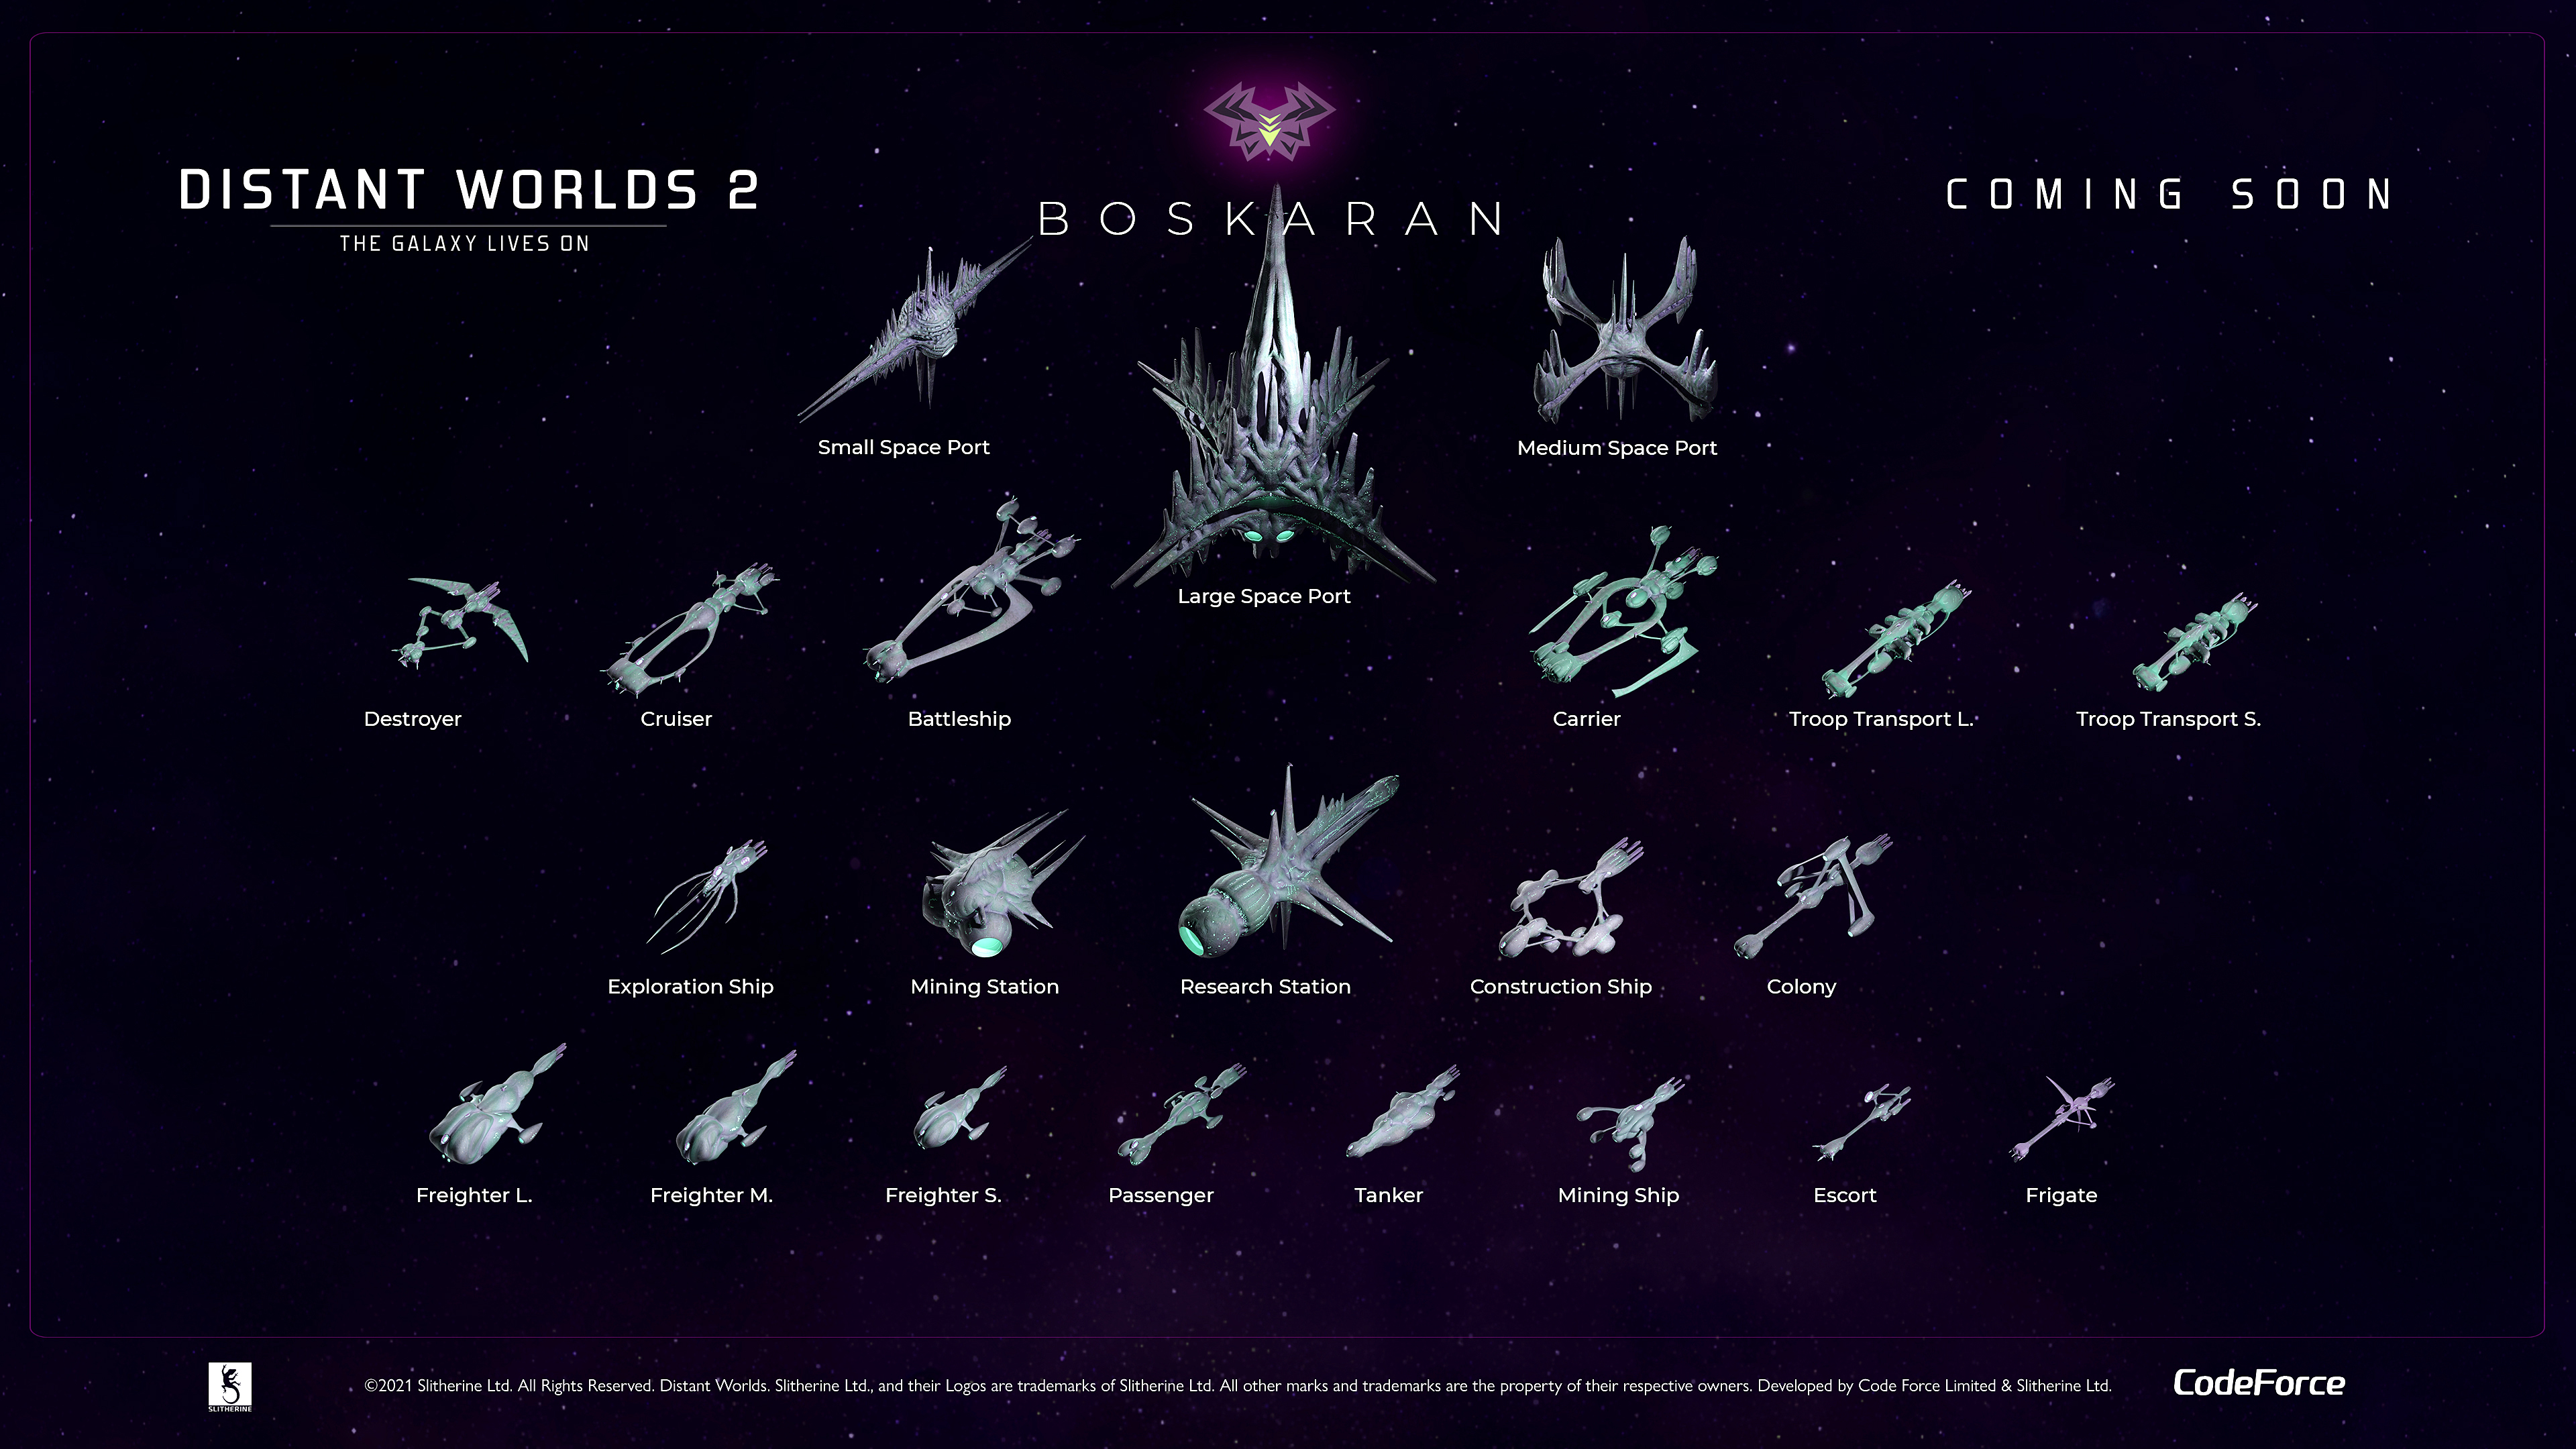
Play style: Research, balanced. Good troops. Best option for Marshy Swamp (+25) colonies.
Combat ships: Moderately tight, side-facing hardpoints; fewer yet larger.
Aesthetics: Green, bulky hulls with blue lighting. Lots of distended rings, some of which move.
- Dealbreaker Beam: Early Gravitic weapons, though extremely expensive.
- Starfield Generator: Countermeasures with weak stealth. Worse at max tier.
- Mega-Density Fuel Cell (Compressed Fuel Storage): Better and very cheap Fuel Cells, especially good early on. Steal ASAP! Doesn't have higher tiers yet remains economical.
Play style: Diplomacy. Good troops. Best option for Contintental (+15) colonies.
Combat ships: Moderately tight, side-facing hardpoints. Great for carriers.
Aesthetics: White and dark blue, streamlined hulls with dim blue lighting.
- Bulwark Missile Battery: High-speed close-range Missiles (also PD), faster fire rate and better PD overwhelm but struggles with RA/SR. Worse at max tier.
- Hail Cannon: Improved Railguns with better range and slightly worse targeting.
- Gyrfalcon Interceptor (Tough Interceptors): Improved Interceptor, better targeting and more slots/customizability. Worse at max tier.
- Foundation for Galactic Cooperation: Diplomacy/spycraft facility.
Play style: Versatile colonization, pacifist. Excellent troops. Best option for Forest (+16) colonies. Few government options.
Combat ships: Moderately tight, large, side-facing hardpoints with a few good front-facing ones. Excellent defenses.
Aesthetics: Green, bulky hulls with dim yellow lighting.
- Fusion Beam: Better Beam weapons with armor bypass. Worse at max tier. Their hardpoints sadly don't allow direct fire spam.
- Splinter Pods: High-range Assault Pods.
- SF27 Organic Hull (Rapid Hull Regeneration): Heavy and expensive DC with high repair rate.
- Biome Shaping Facility (Improved Colonization): Cheaper terraforming facility with doubled quality amount. Steal ASAP. The research name is the same name as normal Improved Colonization, but the Ikkuro version is always this one.
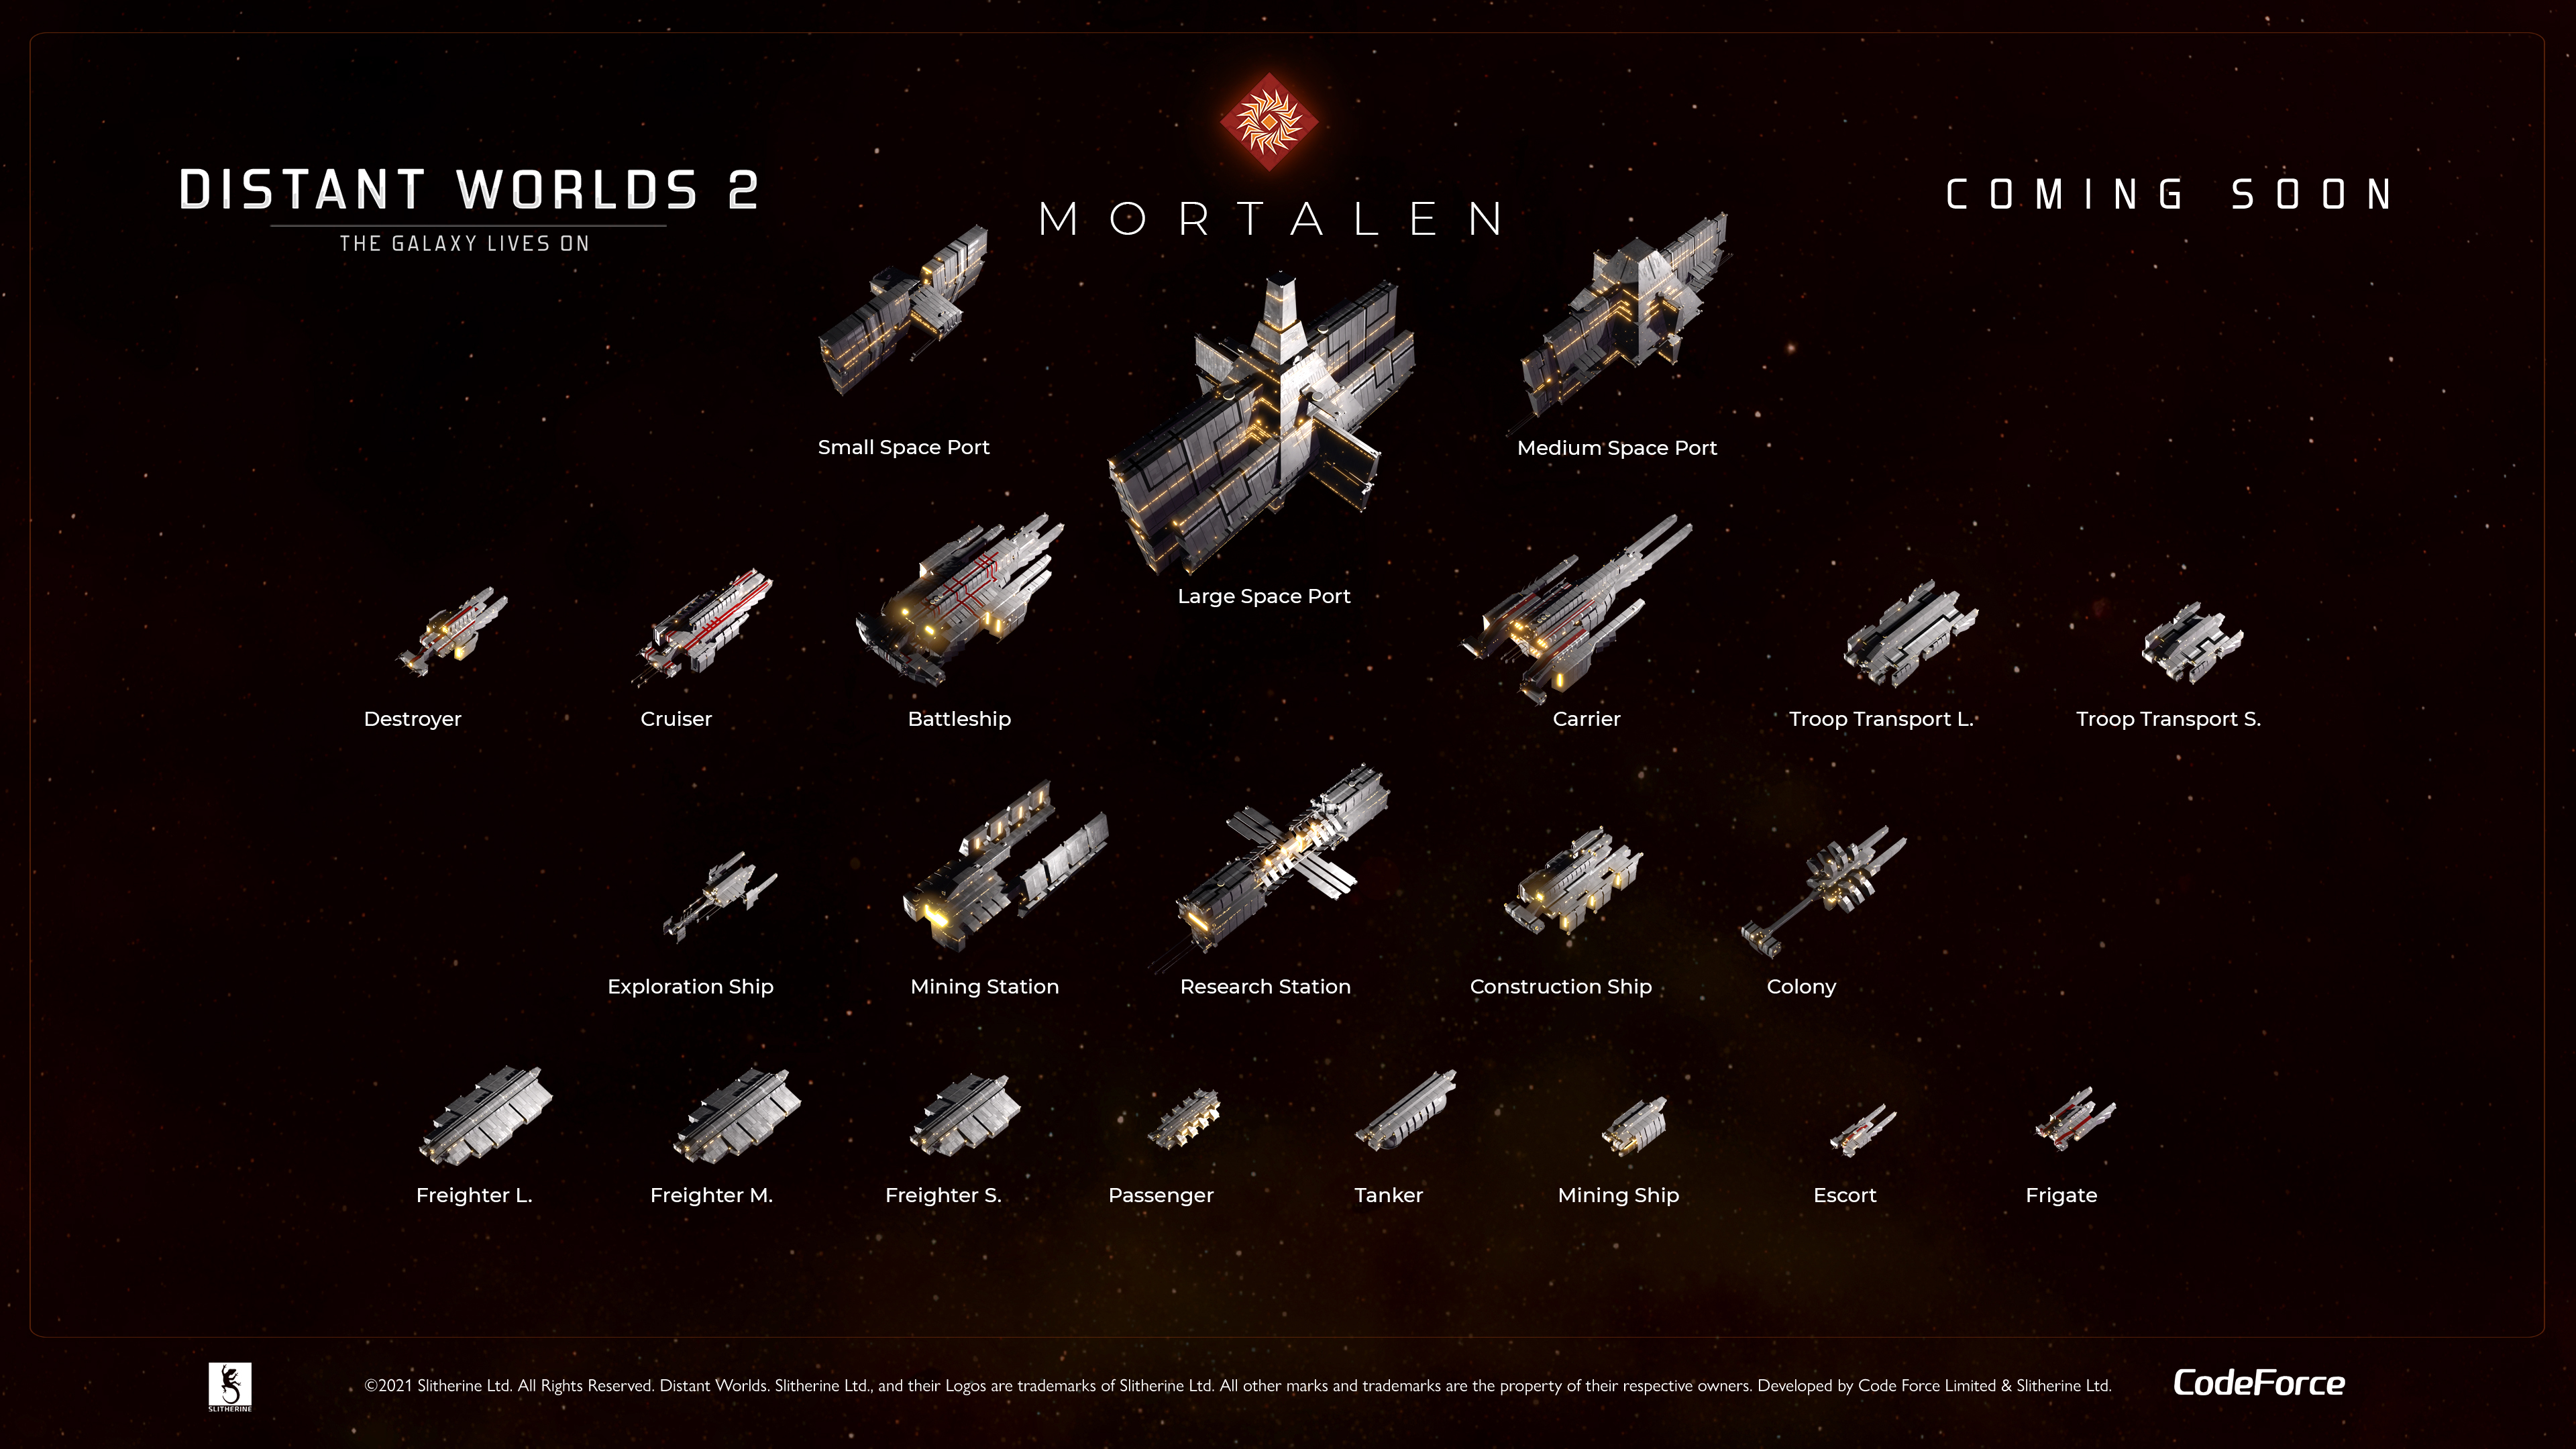
Play style: Military. Best troops. Best option for Rocky Desert (+45) and Desert Savannah (+30 along with Dhayut) colonies.
Combat ships: Moderately tight, large hardpoints in all directions.
Aesthetics: Dark grey, industrial hulls with dim yellow lighting.
- Pulse Torpedo: High energy, high-range Torps.
- Swift Vector: Better Thrusters.
- Block Armor: Lightweight, lower HP but higher resist armor.
- Multilock Sensors: Better targeting.
Play style: Research, isolationist. Gets a 50% research debuff while assimilating new species. Moderate troops. Best option for Mangrove Forest (+20) colonies.
Combat ships: Widest hardpoints. Excellent direct fire Frigates. Great for tactical versatility, Beam weapons (due to amazing reactors) and amazing shields. More Defense slots.
Aesthetics: Round, bright white hulls with orange shield aesthetics.
Story: You'll find a unique Puzzler Pirate faction which will join you after some research and some other minor bonuses.
- Novacore Reactor (Fusion Ignition): Efficient, cheap, lightweight and high-output reactor. Worse at max tier. Steal ASAP!
- Bubble Shields: High-capacity, high-resistance shield.
- Enigma Maze (Tests of Merit): Leader/Scientist boosting facility.
- Transcendence Hub: Max tier facility. Increases happiness and makes the Leader permanent, allowing infinite leveling of empire bonuses, at the cost of a -50% growth penalty. Also gives a bonus positive trait to the Leader and Scientists.
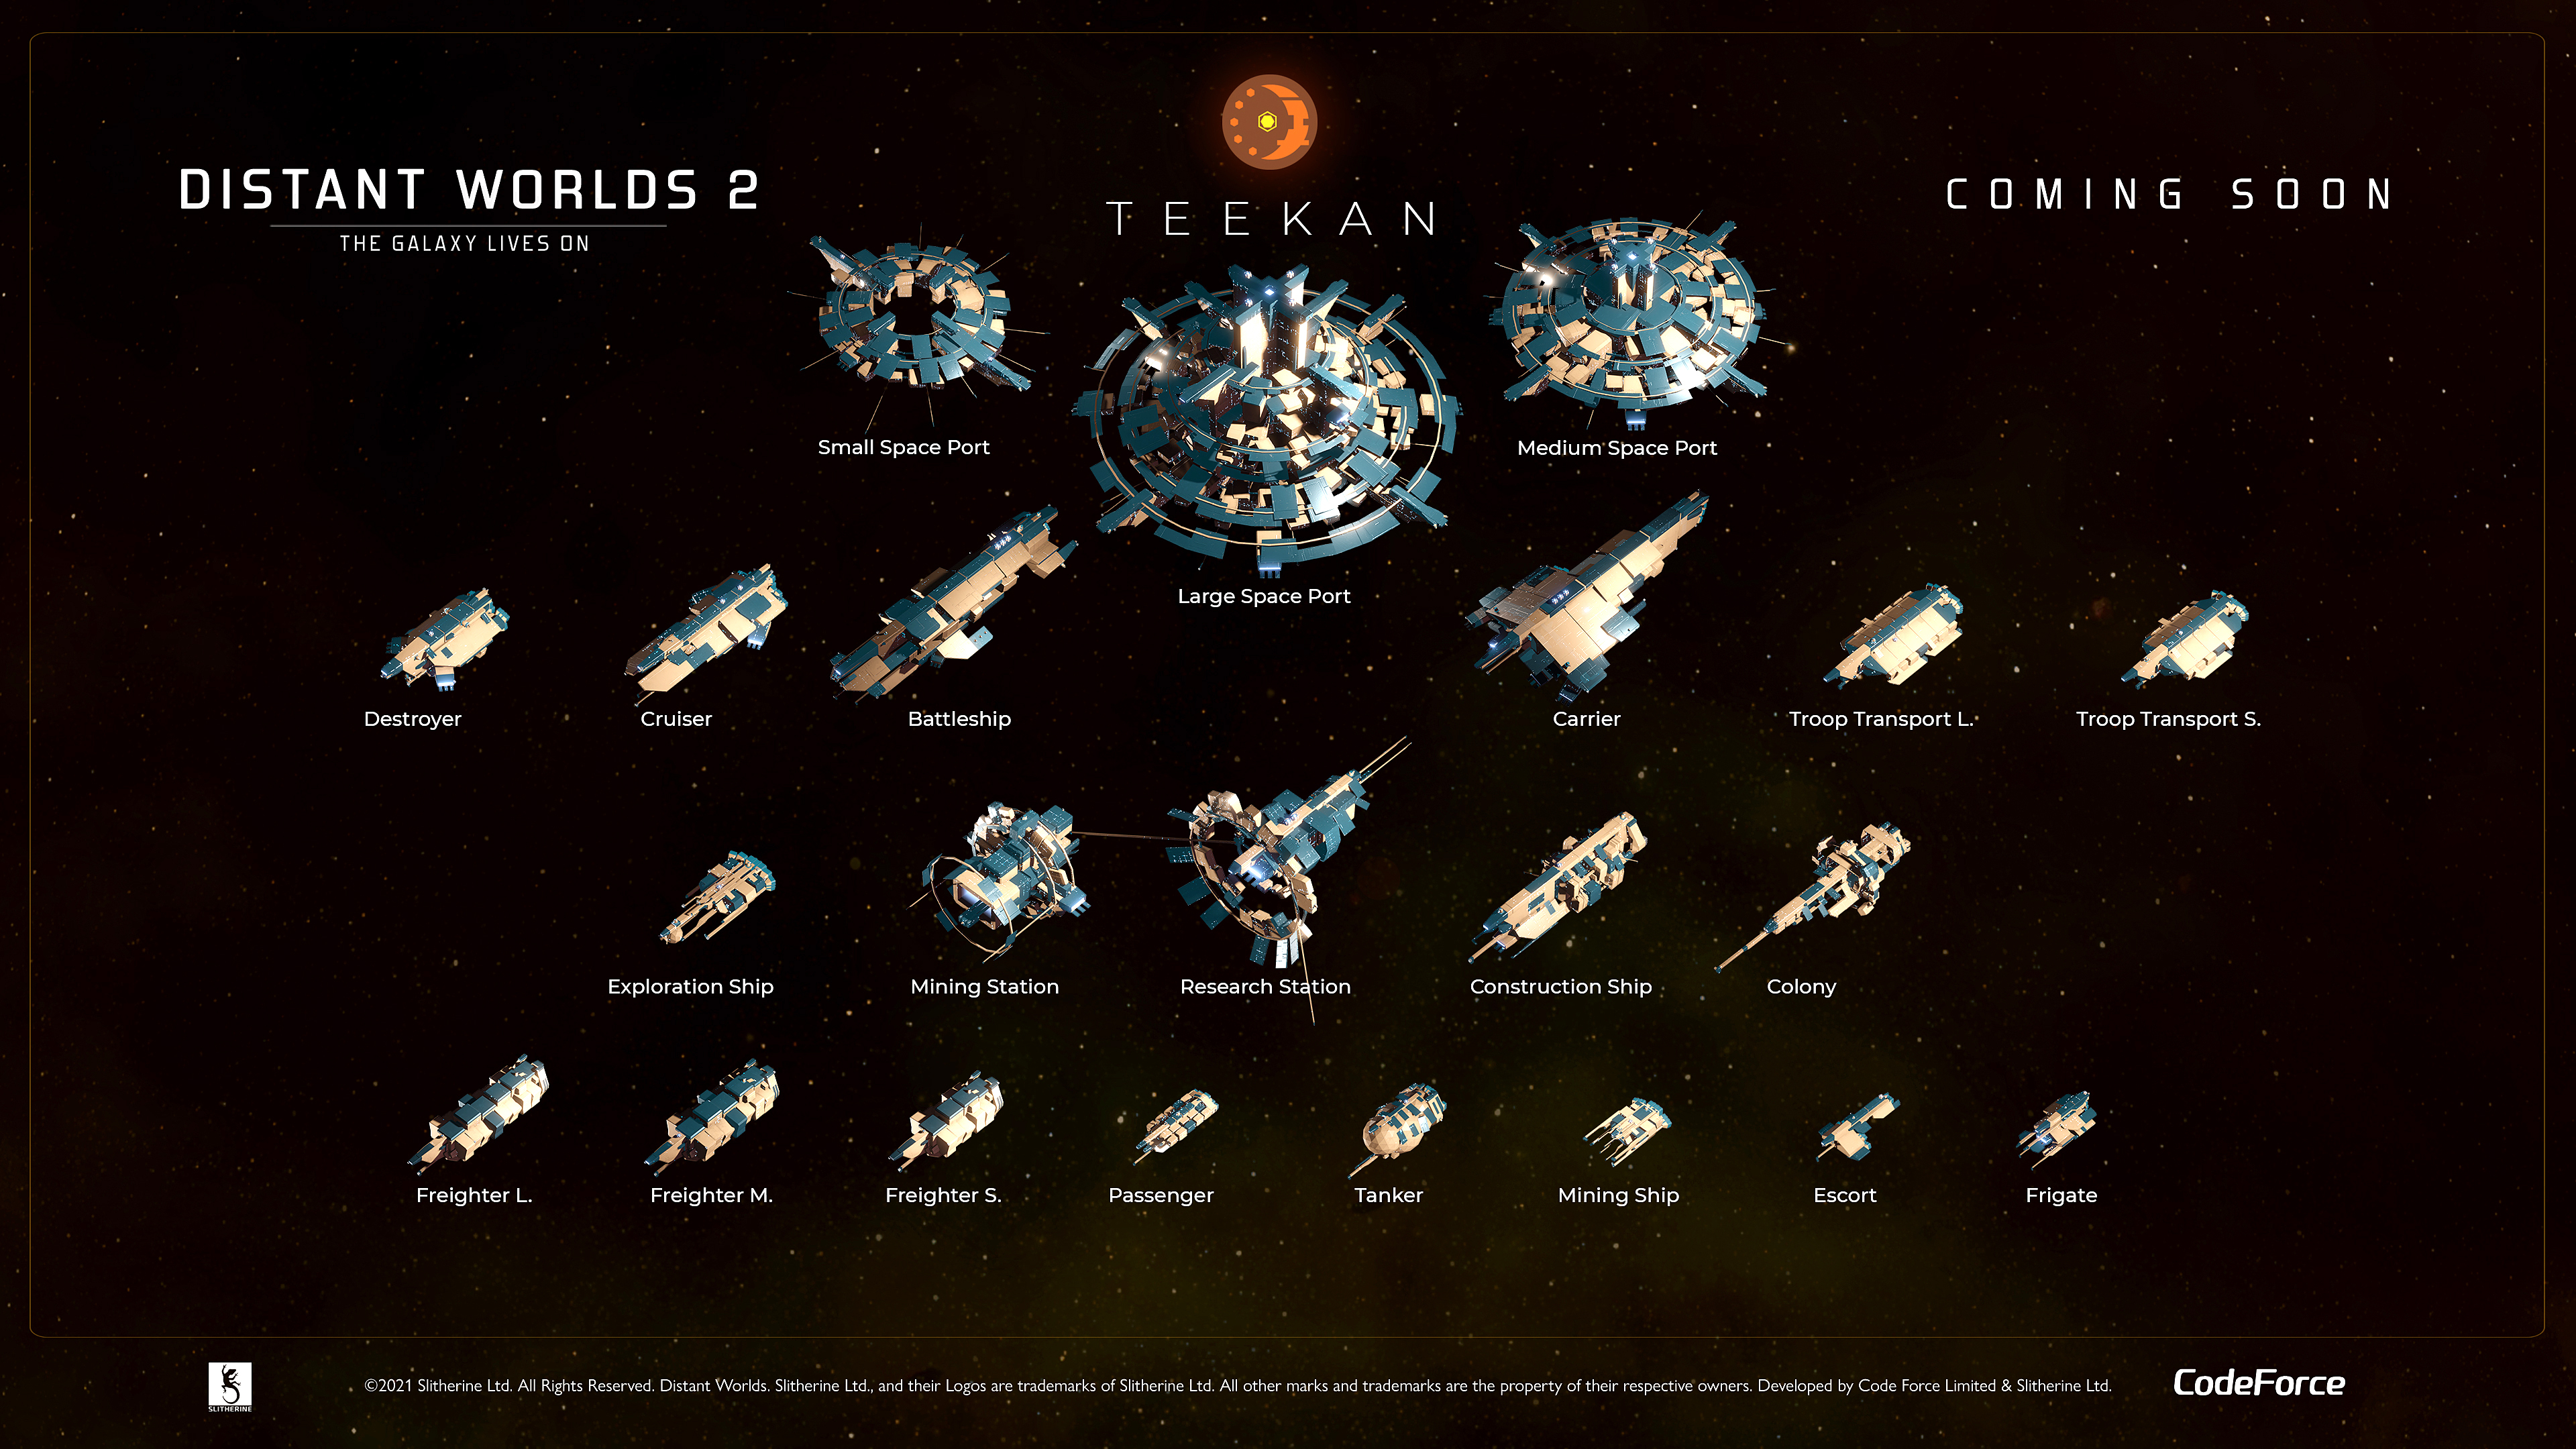
Play style: Pure economy via Mercantile Guild trade treaty spam. Weakest troops. Best option for Sandy Desert (+40) colonies along with Gizureans.
Combat ships: Moderately tight hardpoints in all directions but smaller than those of other species. Great for carriers. Even their Frigates get a hangar.
Aesthetics: Bright orange and blue, bulky hulls with bright blue lighting.
Story: They'll find a 2nd colony in the starting system; choose sleepers first. Later gets a terraforming facility.
- Ion Bomb: Ion area weapon.
- Grapple Beam: Higher-range Tractor Beams. Worse at max tier.
- ZimZip Attack Shuttle: Smaller Interceptor. Worse than the Tactical Interceptor when unlocked but gets better later.
- Large Starfighter Bay: Double the fighters per slot, with doubled size.
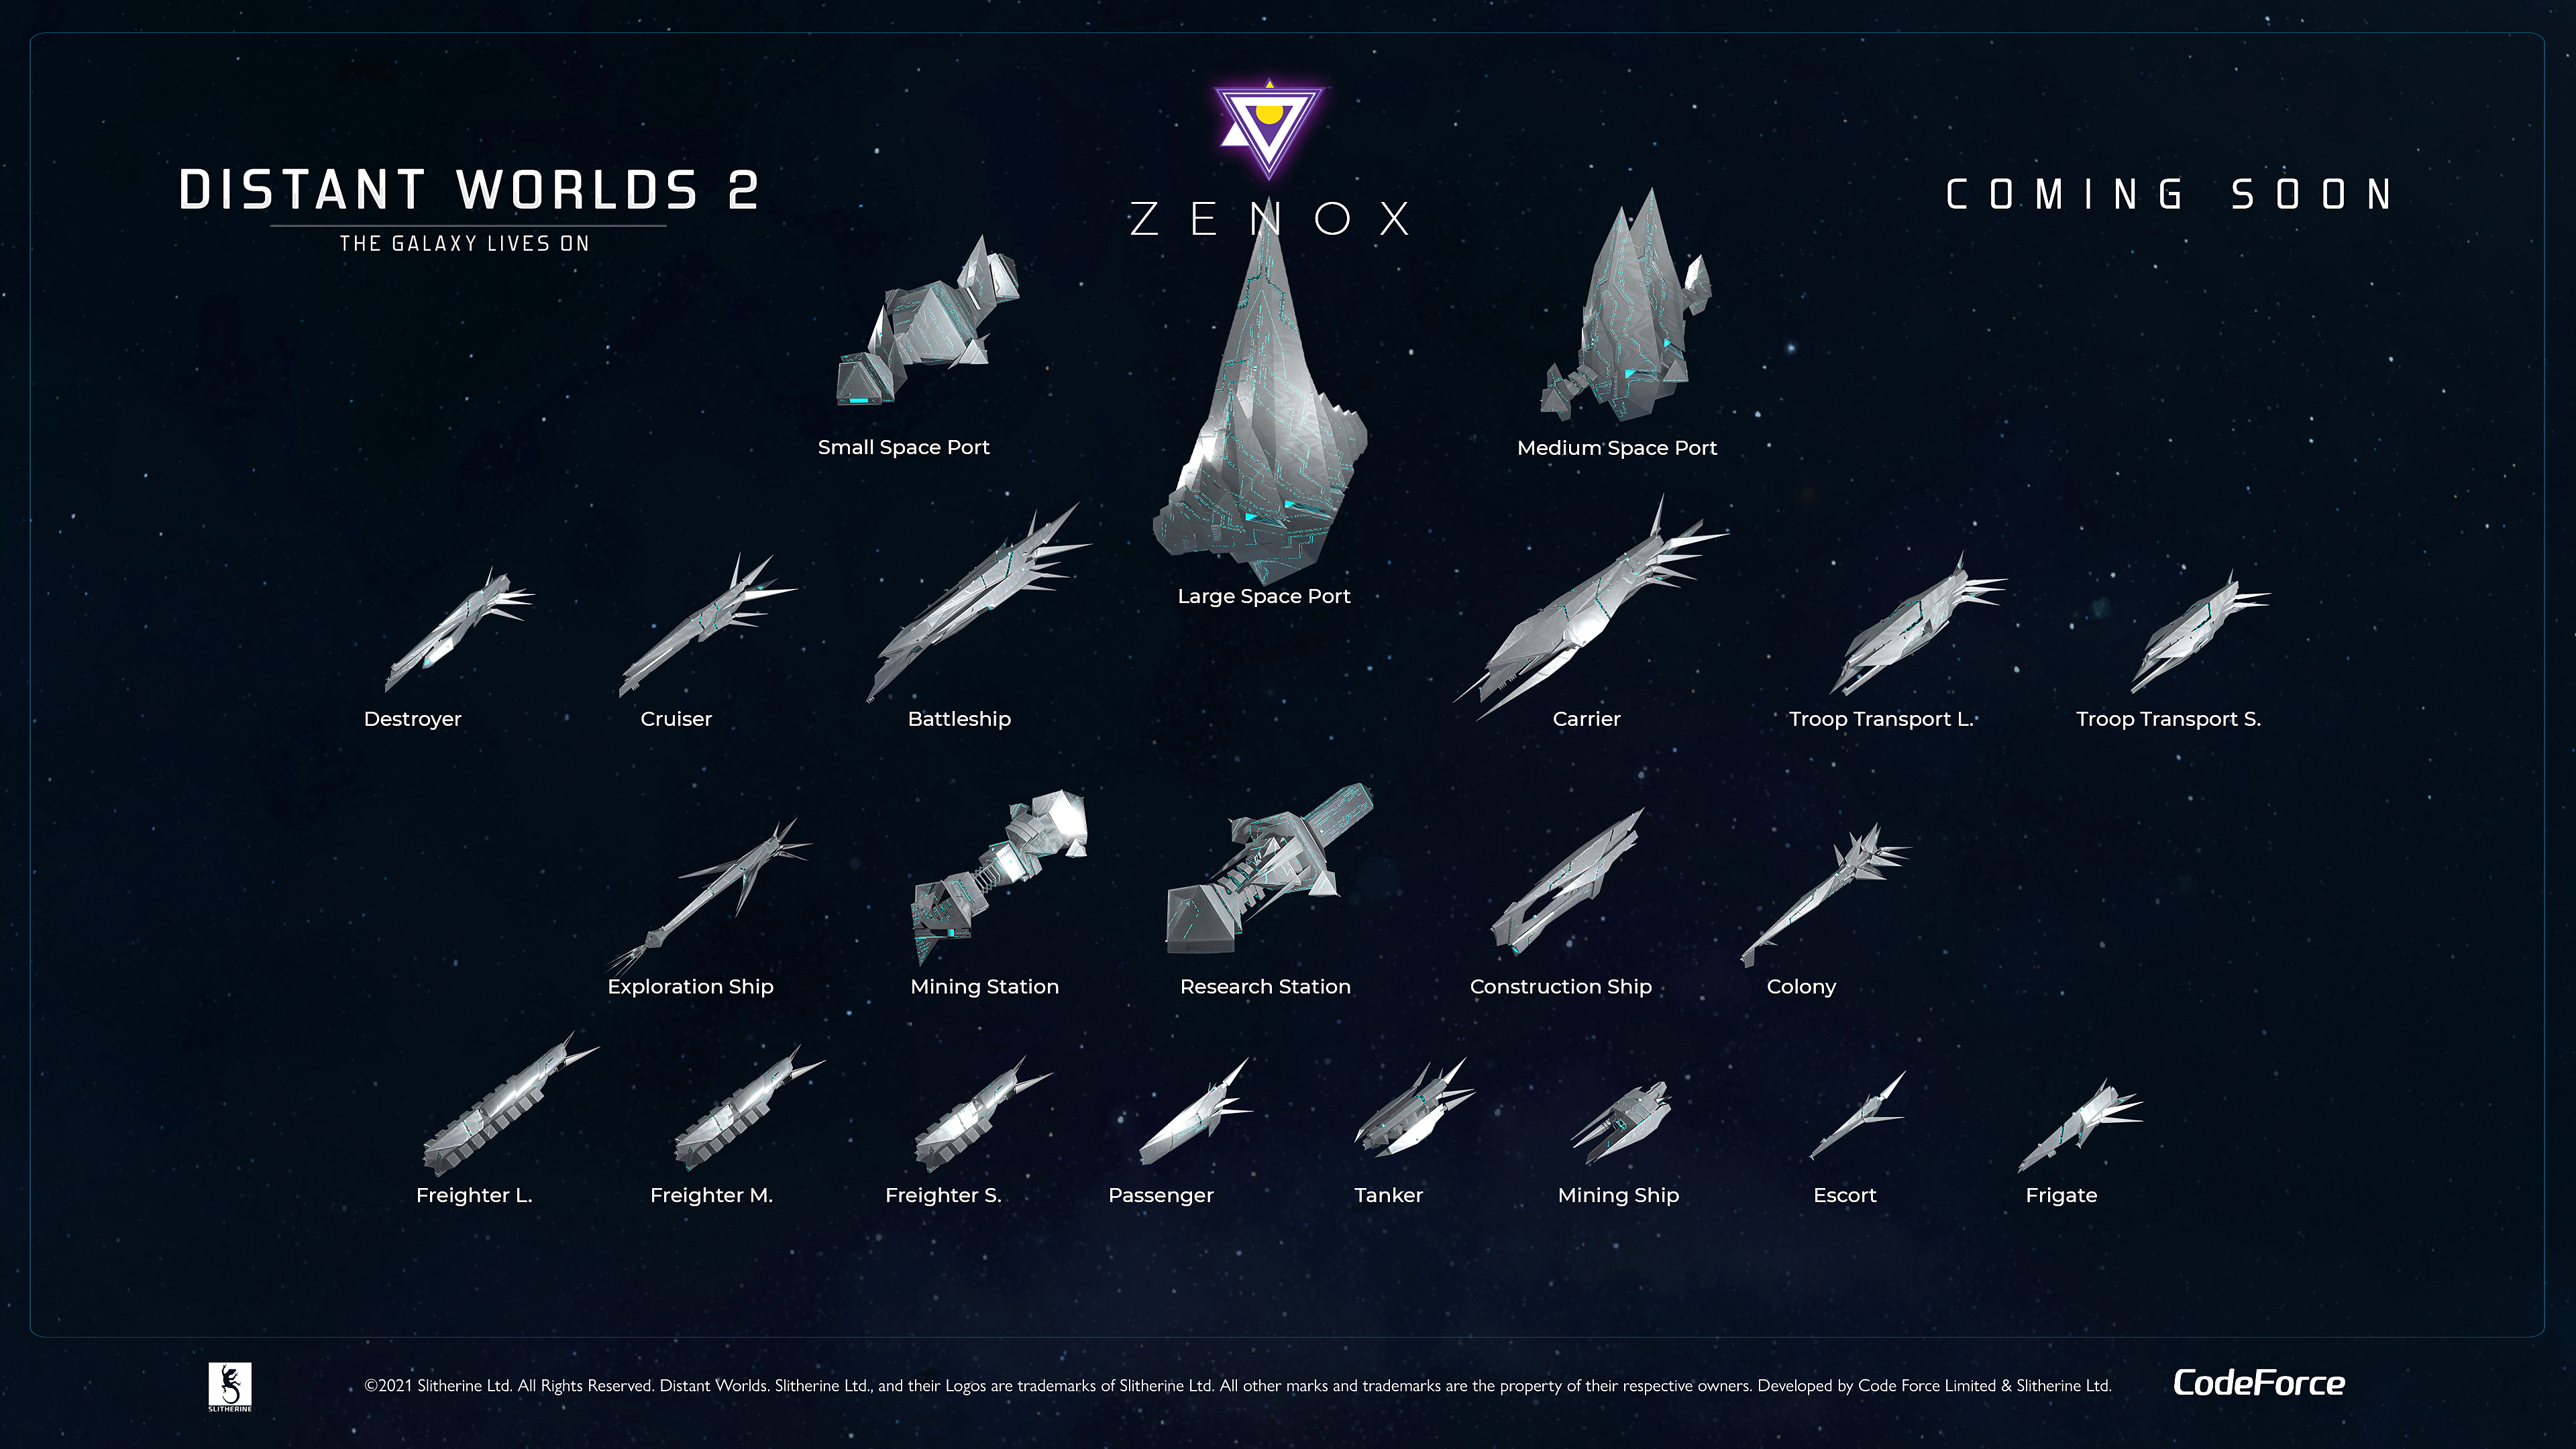
Play style: Research and espionage. Moderate troops. Best option for Ice Tundra (+35), Ice (+25) and Frozen Ice (+25) colonies.
Combat ships: Wide hardpoints, usually with a rear-facing slot. Good shields.
Aesthetics: Bright gray outer hulls with dark inner hulls, streamlined and spiky.
- Star Beam: Better Beams with improved accuracy but lower range. Worse at max tier.
- Megatron Z4 Shields: Improved shield, high recharge.
- Crystal Sensors: Better short-range sensor. No higher tiers.
- Galactic Archives: Max tier facility. Applies a financial bonus to the whole empire.
Chapter 6: Testing

A few notes on fair testing, which is difficult yet crucial to empirically verify the quality of your builds:
1. To force a battle between pre-designed ships you can start a war, clear ships/stations around an enemy colony, place ships/stations of your own design using the game editor and finally gifting one of the two "sides" to the enemy faction. The colony is used to prevent the enemy ships from choosing a different strategic target as they'll usually want to defend the colony.
2. Obviously, both sides must have the same total cost for the comparison to be fair.
3. When gifting ships to the other faction, higher versions like (v2) are downgraded to the base component. Therefore, never use components for which you have higher versions unlocked. It's a hassle to get right: Play or idle until you research the base components and no further, then make a test save. At least you won't need to worry about building an empire. Fast research speeds this up.
4. Empire bonuses from species, facilities and government apply to ships, so make sure they're the same on both sides. You can use the editor to switch factions and equalize the facilities and government, but not the species. Species differences can still be useful to, for example, compare Boskaran blitz tactics to Human fighter tactics.
5. Defensive stations are an excellent choice for learning about the game's mechanics in-depth as there are less factors to consider. This is how you can test repair bots VS shields or check your damage calculations without a margin of error. Countermeasures/targeting are better tested on ships, however.
6. Countermeasures/targeting are affected by difficulty. Use Normal for fair results.


