Ok, this is my first attempt at a AAR, and I learned English at a public school. So I hope its understandable
This is the first time playing as German. I have played most of the 3-4 day or less scenario's as Allied. I would like to explain how I approach a new scenario. I put the speed on the highest settings and play for about a day, trying various idea's to help me set an overall plan. I think this is fair because any good commander should have a general plan in place prior to h-hour. This is my sandbox
 [/img]
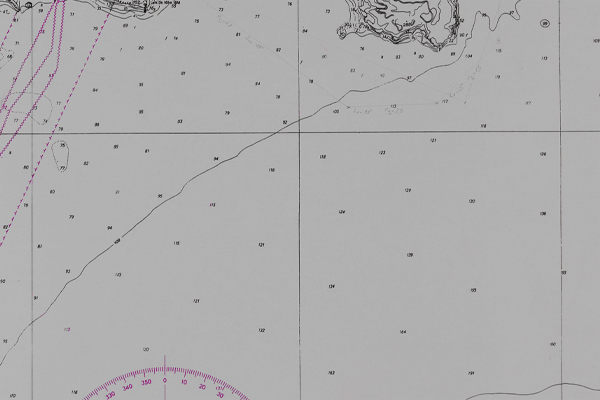
Now 5-6 times I started over and tried to defend at the first set of bridges. I placed a Bn at each of the three northwest bridges with deny crossing orders. ( Never was able to blow the railroad bridge at #1 , but got the main bridge in all but 1 ). One Bn was not enough at #1 so I tried 2, leaving #3 alone. Tried 3 Bn at #1 and they just bypassed that bridge. So I decided to concentrate my forces in town. I am a big beliver in placing the maximum force in the smallest space within reason. So I decided to ignore the rail bridge CP, its only worth 15 VP so who cares?.
Bringing the 1st Bn KG Hoffman from the west to aid the 6th FJ Regt Inf Bn's around the main bridge.
 [/img]
Now I get serious pressure up the main road from the southwest, but for the moment I the leave the 6th to live or die till my first reenforcements arrive from the North. I set the KG Heinke 2SS Pz Korps in a deny crossing mission on the North side of the main bridge. In a couple of my sandbox rehersals, as I call them, I tried placing them on the south side to help out and I would still lose the bridge, so I decided it was not worth it and kept them north. The 6th is taking a pounding gives me the time I need to place KG 2SS Pz Korps with a deny crossing mission. The Allies were able to push through the 6th sometime early in the 2nd day. THe KG 2SS was able to blow the bridge, which IMHO won the battle. Medals and weekend passes for all of them. I then decided to pull the 6th west of the now destroyed bridge.
The rest of the images are from the end, forgot to take a screens shot in the middle of the battle sorry.
 [/img]
Fagtigued, suppressed and lacking in cohesion the 6th pulled out overnite the 2nd well into to the 3rd day. In the mean time I had the Heavy Pz Bn 506 set-up facing the railroad bridge, and shift KG Heinke 2 SS Pz Korps help cover any attempt to cross the river there.
The next reinforcements arrive in 3 pieces in the southeast. KG Hoffman, I wait till all 3 units arrive then move them north to attack. I place their FUP in the middle of the 6th ( which has achieved a defensive formation) and chose probe with high aggression. The Allied AI at this point places all efforts into the railroad bridge. Which helped me shove the 107 Pz Bde in the assault for Nijmegen CBD. Which cleared out the space need to control the CP. And helped funnel the Allies where they wanted to go anyway.

At this time I decide to defend in the south and wait for the end.
Which thanks to the 506th and the 2SS this is how it ended. Medals and weekend pass for all for the 506th and the 2 SS. Since this is the second time the 2SS has been awarded this honor they will recieve two weeks in the rear. ( That is if they surive the train trip [:)] )
 [/img]
 [/img]
This proves you need the 82nd to have any chance of getting these bridges
Salute!
Analog Kid


