A bridge too far for me. I think with all my AARs from now on, I want to publish how my first blind attempt goes and just reflect on the result. I can come back and give these scenarios a second attempt with a new random BP after a month or two to get rid of the recency bonus I'd be receiving by immediately replaying against the AI. Today it was a resounding defeat against the West Germans.
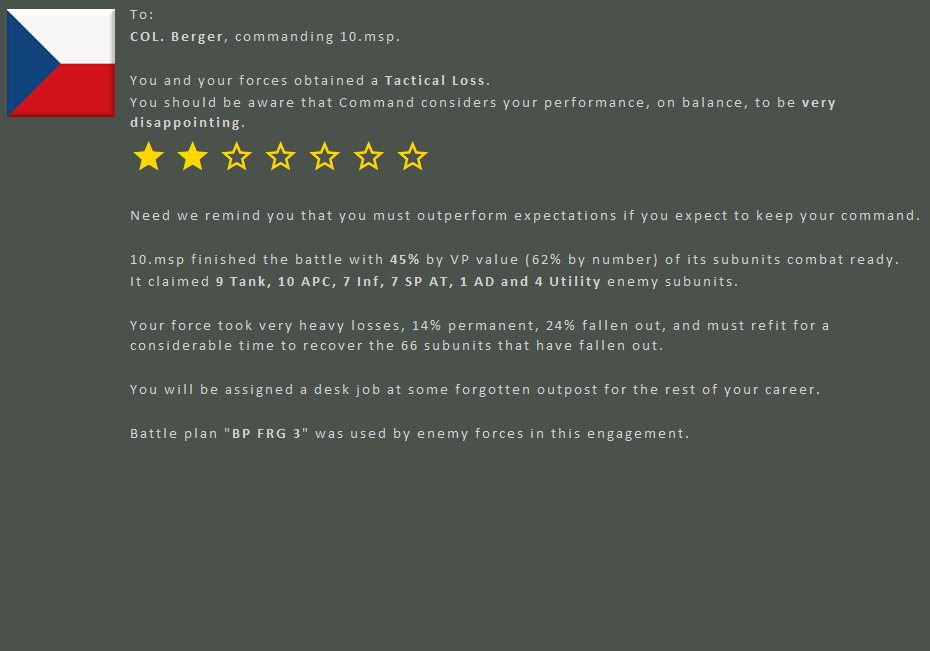
- battle over.PNG (27.97 KiB) Viewed 251 times
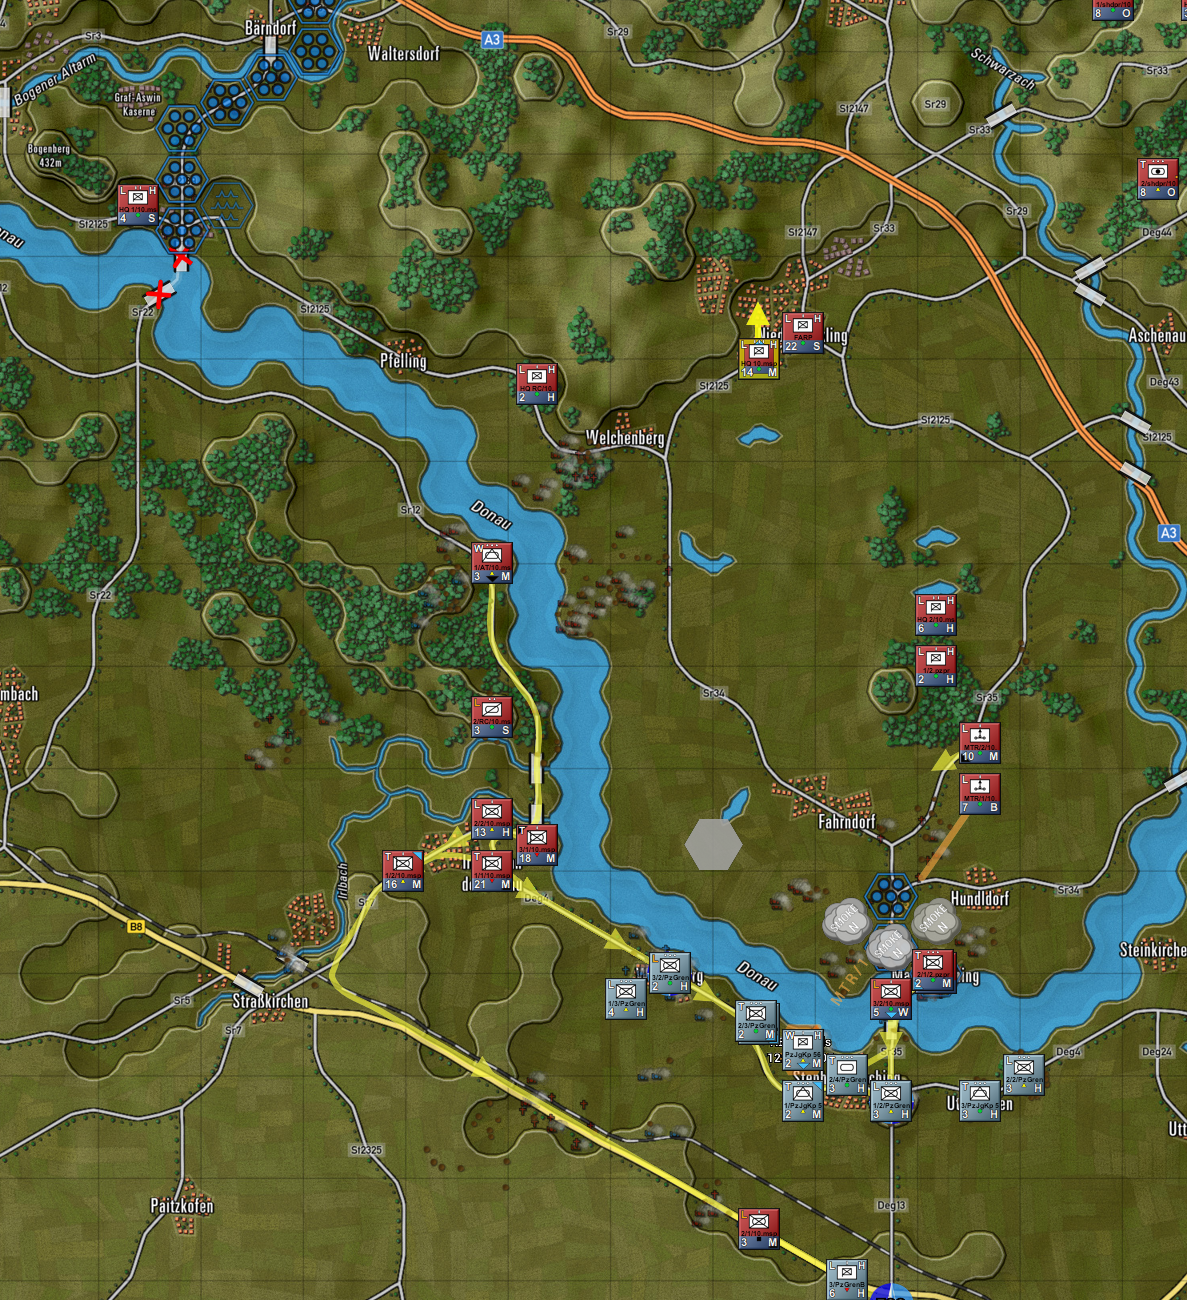
Based on the initial divisional intelligence, I thought I could send a battalion west to destroy in detail the West German detachment residing on the east bank of the Donau and prevent them from ever receding and adding to the defence of the Stephansposching Bridge. I could then safely cross the river with that battalion and use them to flank the riverline defenses from the North west. So I dedicated the artillery and helo support to this thrust hoping to be crossing the river within 90 minutes. I also planned a small crossing with the amphibious recon company with their PT-76s to reconnoiter the wooded high ground on the opposite bank in the hope of seizing it for more protected crossings. This was all based on the presupposition that a direct attack on the bridge would incur too many casualties and allow me to be pinned down. Thus my initial moves on the bridge would be minimal, moving up recon assets under the cover of smoke to see if I can spot targets for artillery.

So how did this play out? Mixed results in the early few turns. No contact was made on the east bank and eventually the battalion ran into a minefield that didnt produce too many casualties because they were in assault mode thankfully but it did significantly slow the advance. The assault into Bogen continued but still met no contact, until I finally realized I had been conned and it wasn't until past the H+2 mark that the river crossings were kicking off without opposition. Things were not going much better downstream. The PT-76s got picked off by ATGM panzers before crossing but the recon infantry made it over not long before their carriers were also blasted to smithereens. Opposite beach was indeed hot, but friendly Artillery pressure managed to drive them back and two companies from the 2nd battalion began crossing operations. I foolishly moved up the T55s to give fire support thinking they would be covered but they were very much spotted and got blasted to smithereens by enemy artillery. I send the Hind-Ds searching behind the German lines for this Artillery but there was no luck in locating it (turns out it was off map and well out of reach). The Hinds were shot down not long after, which was wasteful of me. That is how we end up at the midgame screenshot.

- midgame.PNG (5 MiB) Viewed 250 times
From midgame to endgame was a bit of a scramble. I needed 45 minutes for the mortars and artillery to resupply to support the final push across and along the river, so whatever I had left on the east bank locked into positions as close as possible to the crossing while also remaining in cover. By the time fire support was back on station, the BVP companies had only just completed their river crossing and were rushing down the riverside road, while the main push began to capture the bridge. By this time I had sadly noted that not a single 1A5 had been confirmed killed up to this point and I hadn't completely knocked out a single German platoon so the margin for any kind of win was probably already closed but I wanted to see things through. German forced began concentrating on the southern side of the river crossing and while there was significant causalities on both sides eventually the punching power of my forces was reduced to zero and the clock ran zero before the flanking forces could properly come to bear. That's how we end up with the endgame screenshot.
- endgame.PNG (3.88 MiB) Viewed 251 times
In real terms I believe this tactical defeat represents that the Czechoslovakian forces were blunted and forced into a retreat, with the BVP companies on the west bank isolated and crossing back after nightfall. While the reds lick their wounds, the Germans blow the bridge and a critical opportunity is lost.

- Butchers Bill.PNG (43.62 KiB) Viewed 251 times


