The start of this scenario is always the same. A cease fire that allows each side to maneuver into positions. The Allied strategy is usually the same, too, at least to start the game. Fall back everywhere into better positions. Southern Russia is a key spot early, as is North Africa.
T002. 15 May 1942. <-- link to blog post
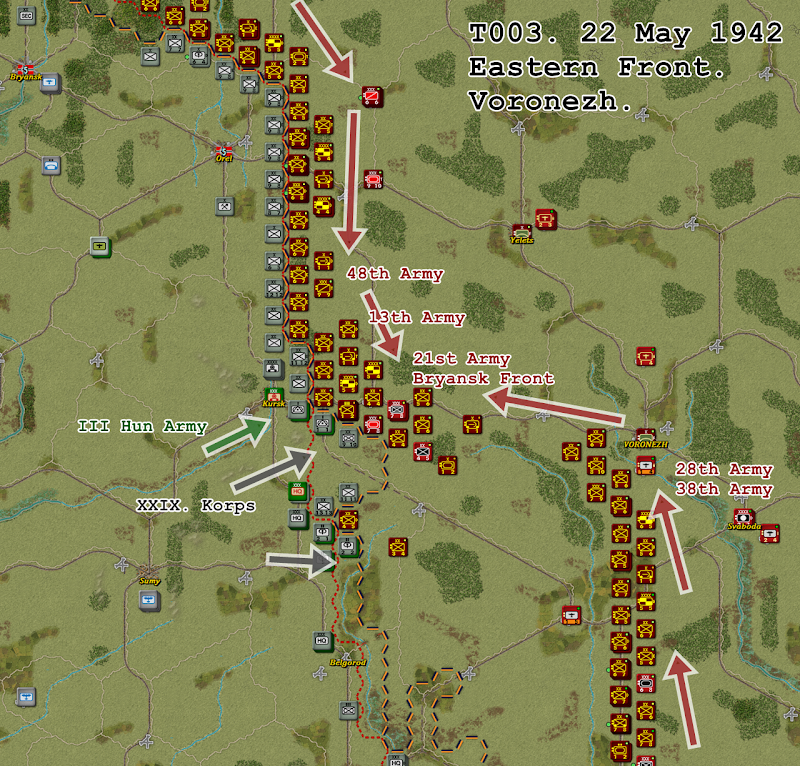
Eastern Front - Kharkov Sectors
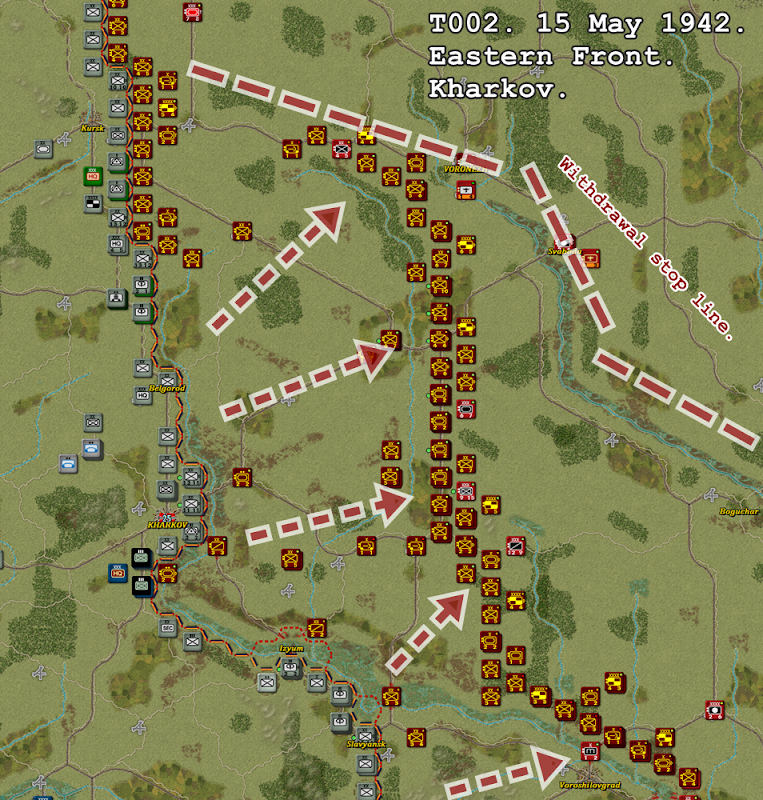
This game starts out close to the same as it did the other times, but I'm ordering a general retreat from the Kharkov fronts much faster this time. All armies are to withdraw to the Don River over the next few turns, then hope to hold there until the Soviet reserves start arriving.
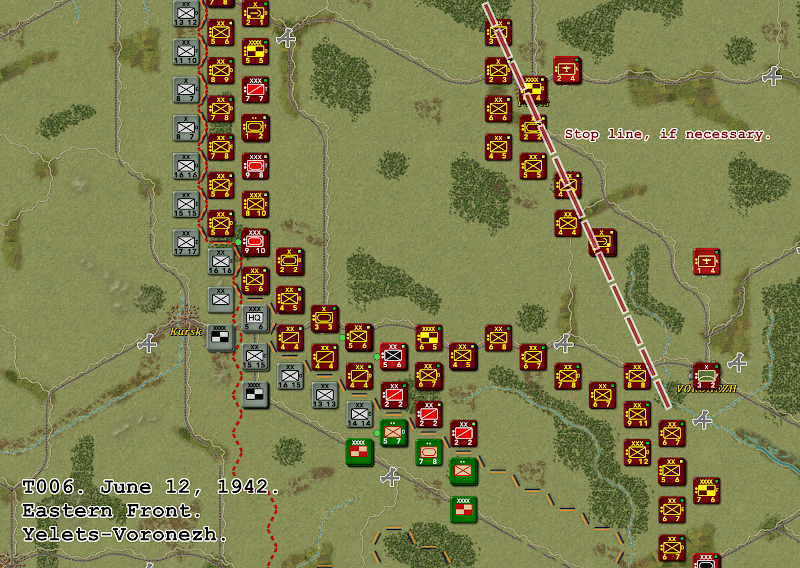
I'm more than a little concerned about the massive gap that opened in my lines from Kursk to Voronezh. I wasn't able to disengage from around Kursk, and this might allow the Nazis to swing around and into the hole. It would be a big blow to my strategy here, but one that I think can be overcome as long as I keep damage to the moderate range. As the line from Kursk falls back toward Voronezh, the units will start doubling up and cover less area.
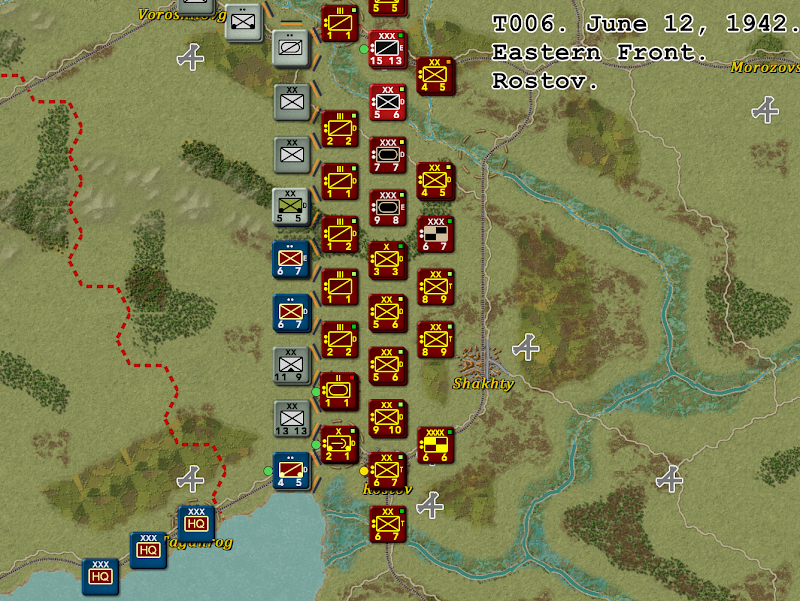
Eastern Front - Rostov Sectors

The withdrawal in this area must be more carefully executed, as to avoid allowing the Nazis easy access into the Caucuses. Rostov must not fall for at least a few weeks. That's always a difficult task, if for no other reason than the defensive position is just terrible. River to the defenders' backs, open ground to the front. Rostov will become a hinge as the rest of the Soviets retreat east to connect with the Don River armies currently falling back from Kharkov. Once Rostov falls, the line will set up positions behind the Don and Donets rivers, connecting with the Don armies already further east.
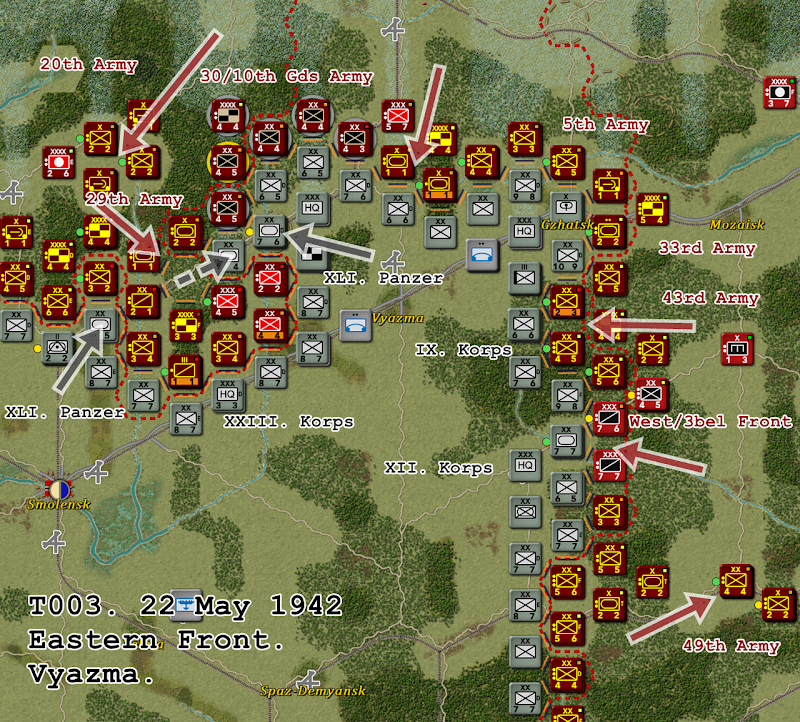
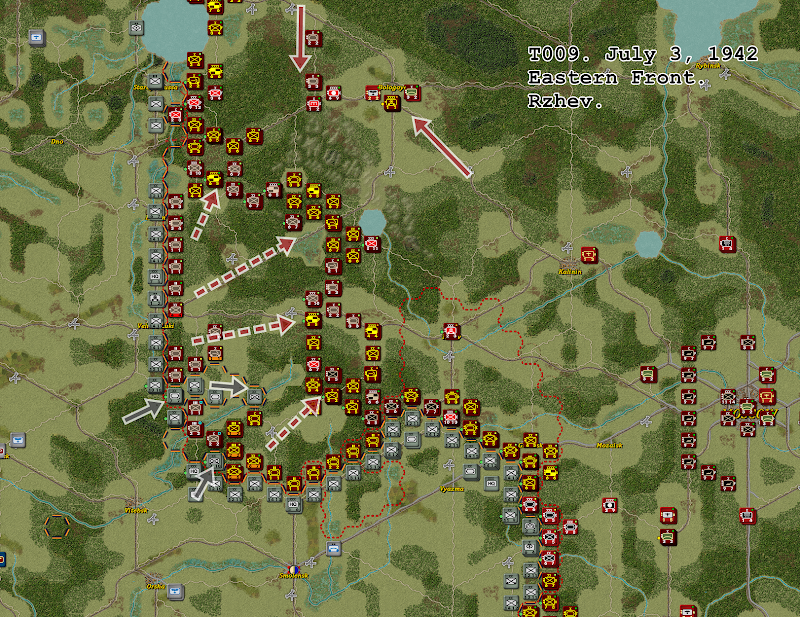
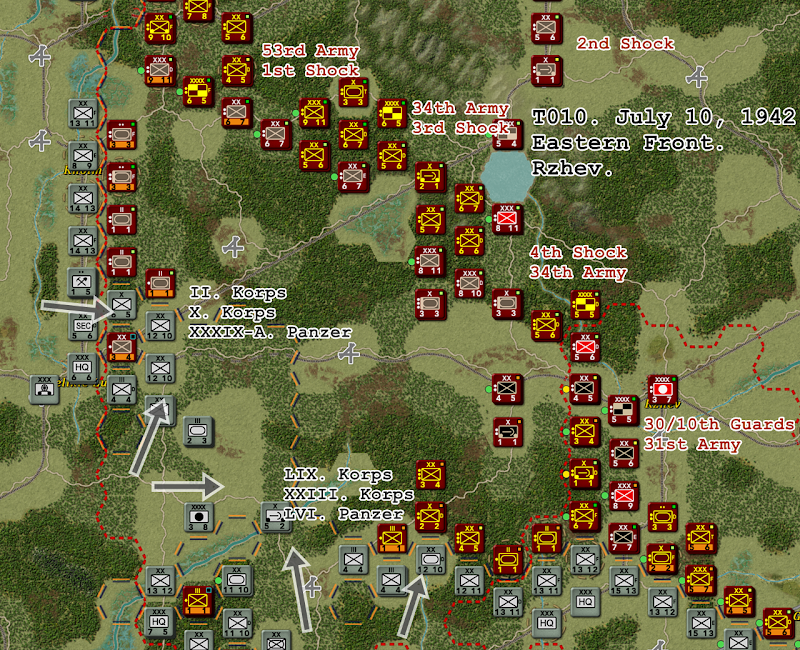
Eastern Front - Rzhev/Moscow

West of Moscow is the Rzhev Meat Grinder. The Nazis aren't stupid here, self-collapsing the pocket quickly to avoid the Soviets pinching off a chunk of their forces. I've tried to move quickly enough to start squeezing from both east and west, with some success.
The ultimate goal with this operation is to completely destroy a few Nazi divisions. The intermediate goal is to pursue the withdrawing enemy as their front destabilizes, possibly catching one or two sectors before they settle into a good defensive position.
I've shifted some of my available Soviet reserve armies to the northern part of the salient, but I'm concerned the traffic congestion as the battle moves south. Things could turn into a meat grinder after all.
North African Front - Tobruk
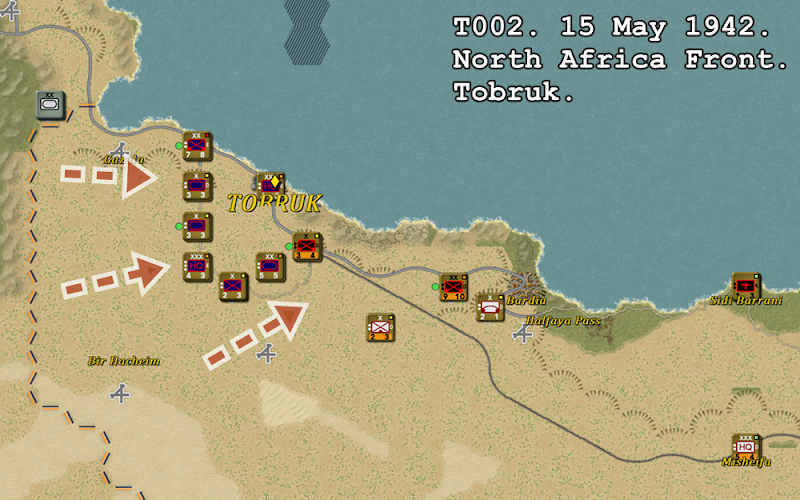
There's no good way to defend in most of North Africa, and Libya is particularly difficult with all the open flanks and terrible supply lines. So what I'll hope for right now is to fall back into Tobruk and hold out until... ? Keeping the Nazis and Italians from getting to Alexandria is my only concern. I may rethink this strategy as things progress.
Next Up: Turn 3, duh...